Flash guide
- Sign in to plickers.com on your laptop/computer
- Select New Set from the top left-hand corner of your homepage
- Start writing your questions (the detailed guide below takes you through the best way to do this)
- When you're done, check that you can see 'Saved...' in the bottom-right and close the tab
This guide will take you through how to create a new Set, and the most efficient way to write your questions within it.
A Set is a selection of questions grouped together. You can use Sets to assess your students on a sub-topic like 'Addition', rather than using a single isolated question like 'What is 2+2?'. Click here for more.
Note that it's only possible to create content at plickers.com on your computer.
-
Sign in to plickers.com on your laptop/computer
You'll arrive at Your Library (aka the Plickers homepage).
-
Click the 'New Set' button
It's located in the top left-hand corner of the Plickers homepage, as shown below:

The Set Editor will then open in a new tab.
-
Name your Set
You can do this by clicking on the Untitled Set textbox at the top of the page, then typing the name of your Set, for example Addition.
-
Prepare your first question
The toggle boxes below will take you through our recommended approach for writing questions, but if you're short on time, feel free to move straight on to the next step.
More infoIt's also possible to import a list of questions and choices from an external source, using our Import Questions feature. Click here for more info.
-
You'll see the two question type options at the top of the page, as shown below:
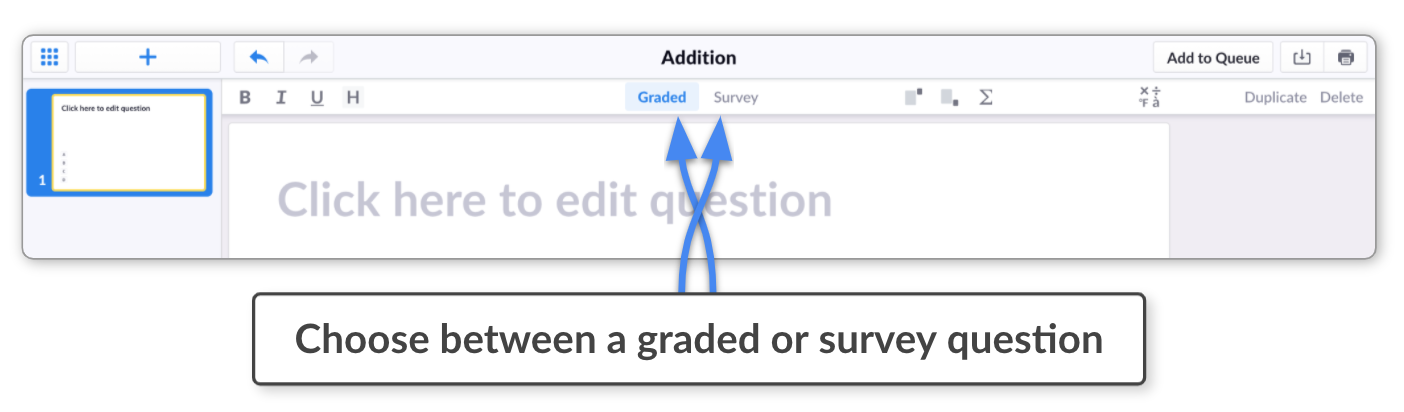
A graded question has a correct answer, while a survey question allows you to gauge student opinion or take a poll (there's no correct answer).
-
On the main question slide, you'll see the instruction Click here to edit your question. When you do so, you'll be able to type out your first question prompt.
-
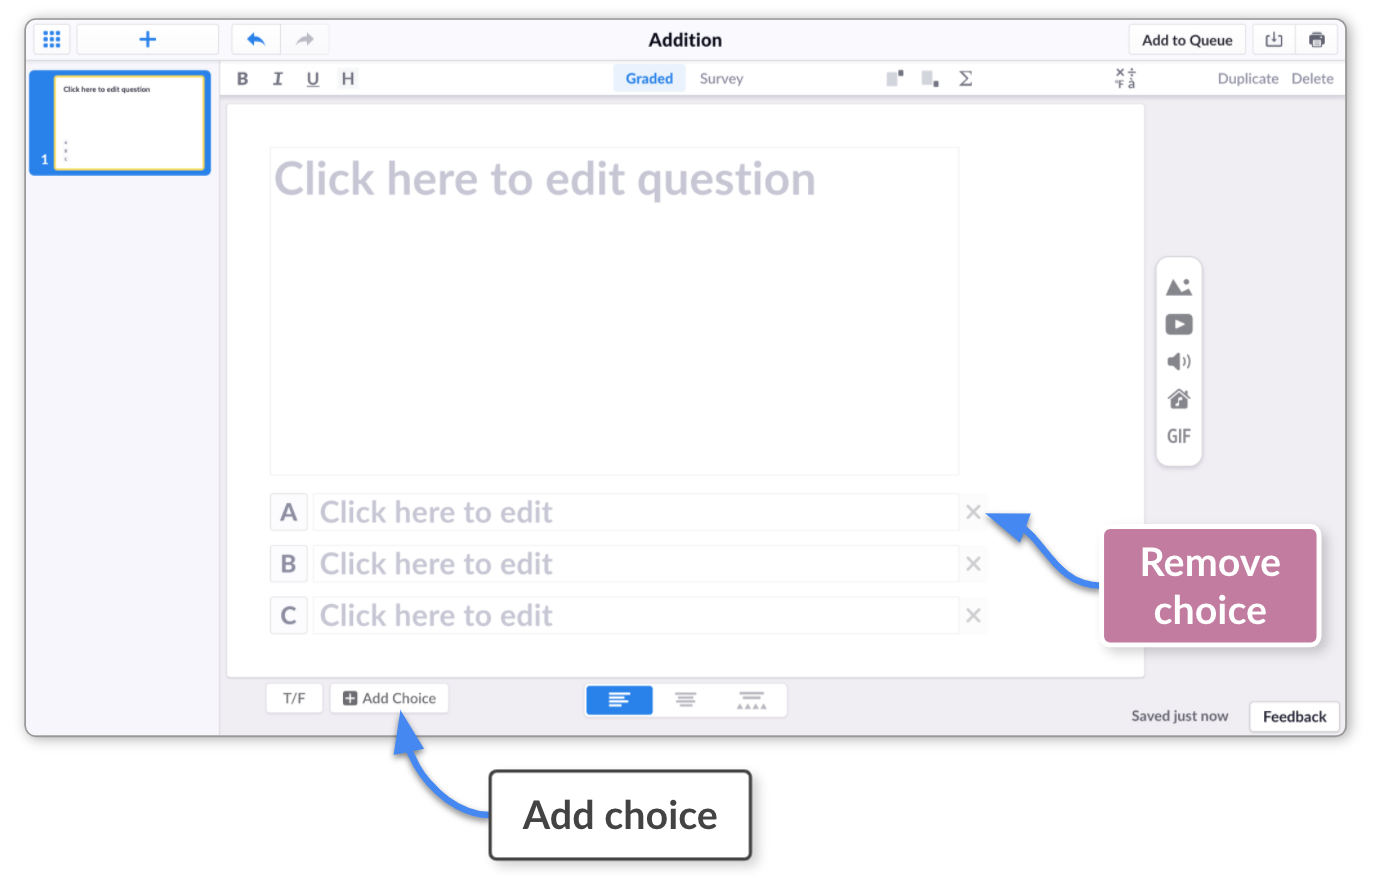
There is a maximum of 4 answer choices available in each Plickers question.
To remove an answer choice, hover your mouse pointer over one of the choices and click the 'x' on the right.
To add an answer choice, look for the Add Choice button at the bottom of the screen (this only appears if there are fewer than 4 choices on the slide).
 Tip
TipIf you'd like to add a 'True or False' question, before you start writing it, try clicking the Make True/False button at the bottom of the Set Editor.
-
Click on the text box for choice A and type in your answer (we'll be shuffling the order of the choices later on).
-
Once the correct answer has been added to choice A, you're then free to think up some effective distractor choices for options B-D.
Click on each remaining text box and type in your choices.
TipShortcut: Try using the up and down arrow keys on your keyboard to move between answer choices and your question prompt.
-
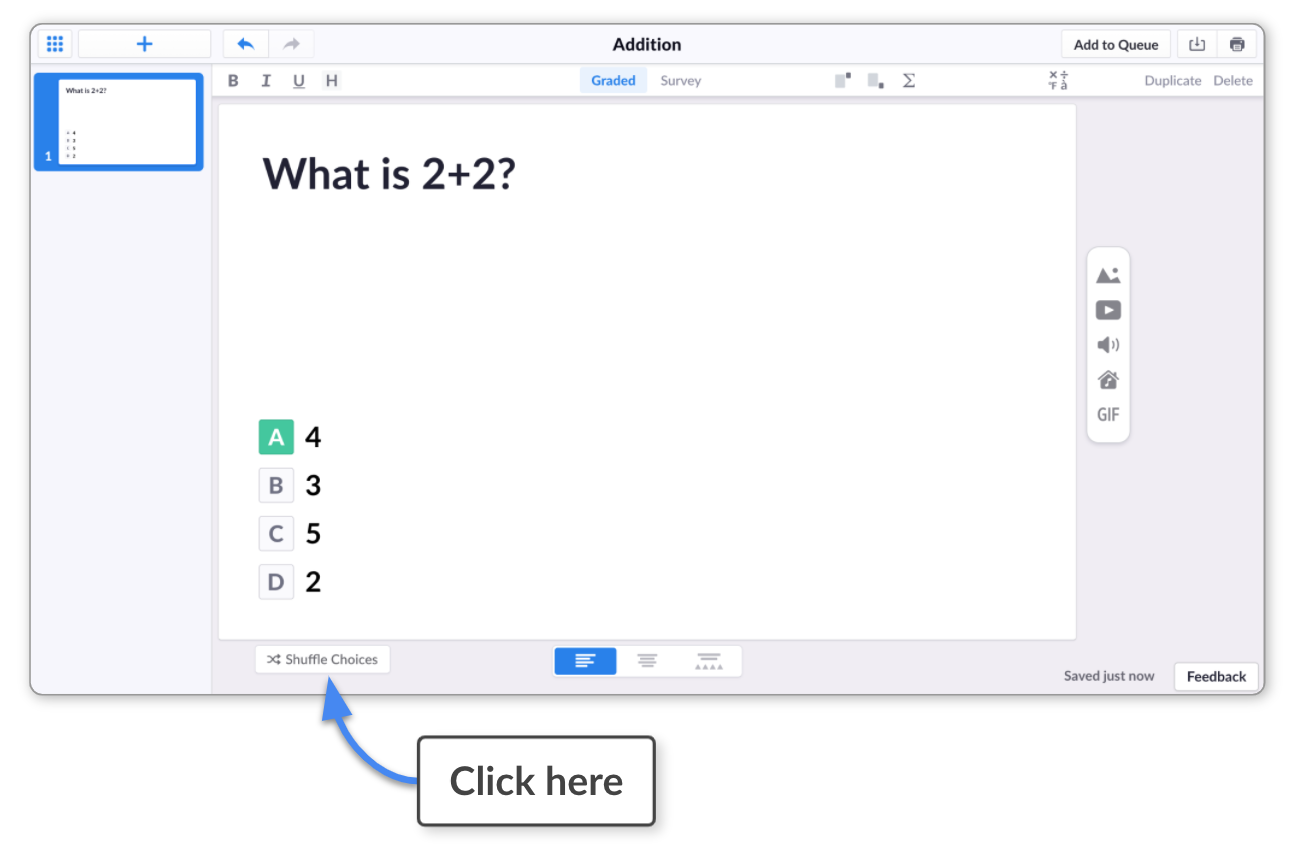
This ensures the order of your answer choices differ between questions.
The location of the Shuffle Choices button is shown below:
-
If you want to ask a question that relates to a piece of media, or simply want to jazz your slide up a little to increase engagement, there's a variety of options you can try.
For question prompts, explore the right-hand toolbar that looks like this:
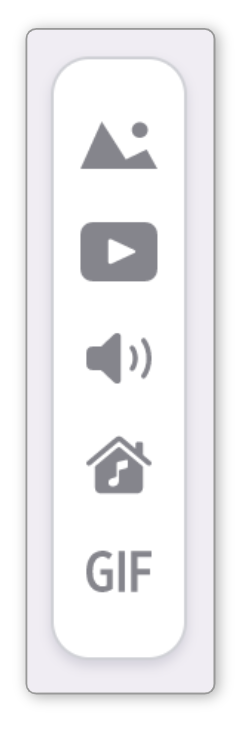
For answer choices, select the Media Choices button
 at the bottom of the screen.More info
To find out more about working with media within your Plickers content, head over to our article linked here.
NoteIf you didn't use the 'choice A and shuffle' method above, remember to mark your correct answer by clicking on the box containing the appropriate letter (it can be easy to forget this - in which case, the correct answer defaults to choice A).
-
-
Double check your question
We'd recommend making it a habit to check your question text and answer choices before you move on to writing your next question. The main thing to check is whether the appropriate choice has been marked as correct.
Note that if you spot an error after you've assessed your Class, you can change the correct choice letter in the Editor (to learn more about editing an existing Set, click here).
It's not possible to automatically adjust any student results collected prior to the edit, but it is possible to manually update student answers after a session is complete by using a spare set of cards. Click here for more info on how to do this (look for the 'After your session' tab).
-
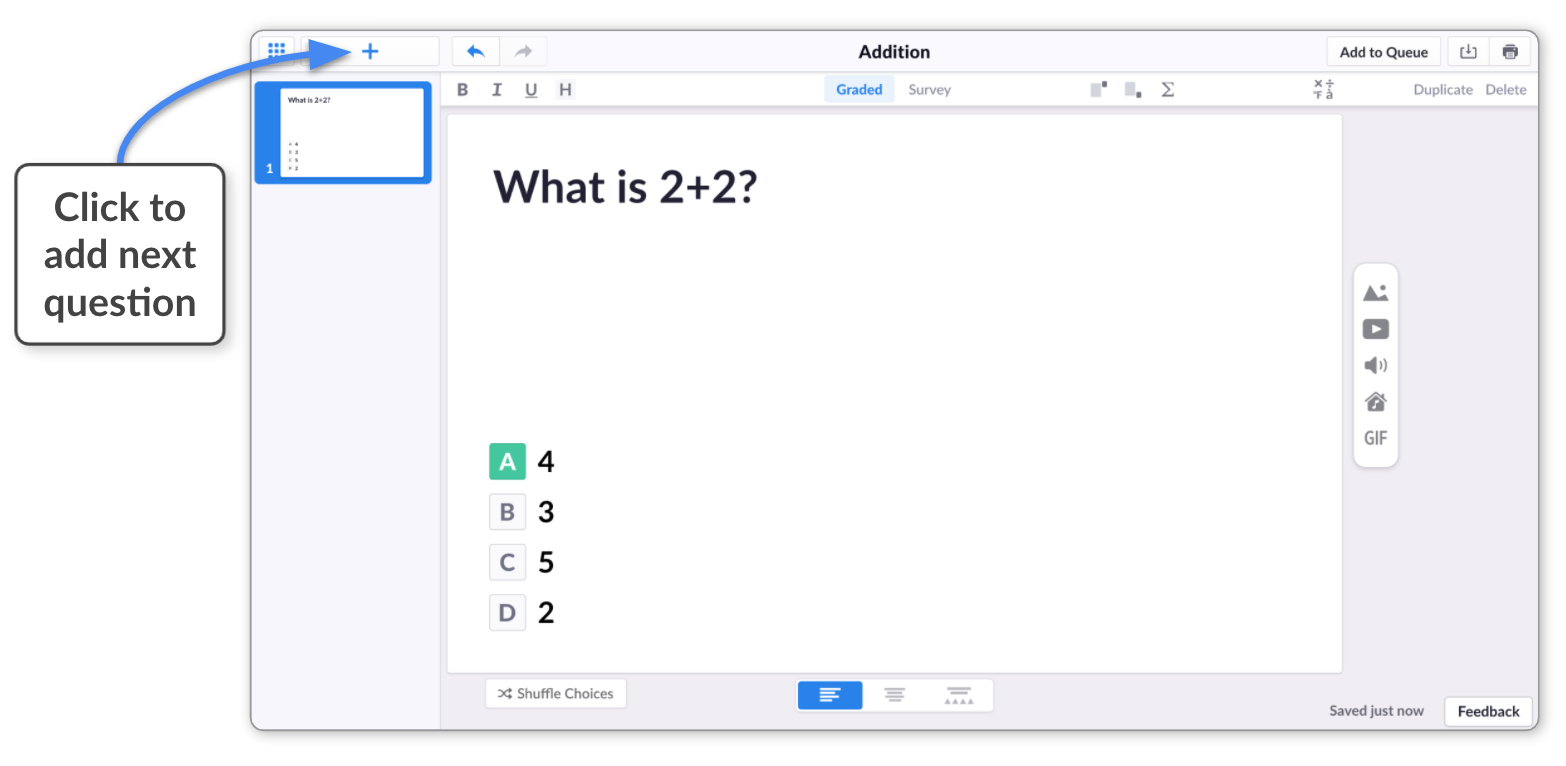
Add your next question in the Set by clicking the
 icon
iconIt's located in the top left-hand corner of the screen, as shown below:
 Tip
TipIf you need to re-order the questions within your Set, you can click-and-drag a question slide up or down within the left-hand sidebar of the Set Editor.
-
Create your remaining questions
Complete your Set by repeating the steps above for your remaining questions.
NoteYou can create as many Sets as you like within Plickers, but if you're using our free offering, it's only possible to include 5 questions in each Set (Plickers Pro can help if you need more space).
-
Exit the Set Editor
When your work is done, you can exit the Set Editor simply by closing the tab in your browser.
You can also stay in your current tab by clicking the Menu icon
 and selecting Your Library.Tip
Check you can see the 'Saved...' message in the bottom right-hand corner of the screen before you exit the Set Editor.
Useful features for writing questions in your Sets
As we alluded to above, there are lots of different features available in the Set Editor to jazz up your questions. To learn about what's included, head over to our dedicated Explore article linked here.
Creating a Set is one of the central tasks when using Plickers, so we hope this guide has been useful for you. If you have any questions that weren't covered above, or if you'd like to ask us about anything Plickers-related, feel free to drop us a message at support@plickers.com.
Comments
0 comments
Article is closed for comments.