Once you've created a Class Queue, you may decide you want to change it up a little bit before the start of your session, whether its re-ordering content, removing items or adding something new.
In this guide, we go through how to re-order your items within your previously assembled Queue.
Before we get started, if you'd like more information on the Class Queue in general, head over to our dedicated article here.
Flash guide
- In the left-hand sidebar of plickers.com, select the Class you're working with
- Seek out the content item to be re-ordered in your Queue, and hover your cursor over it
- Click and hold the scrollbar icon that appears to the left of the item
- Drag the content item up or down to change its position in the Queue
- Alternatively, right-click on the item, and select the option you require from the menu
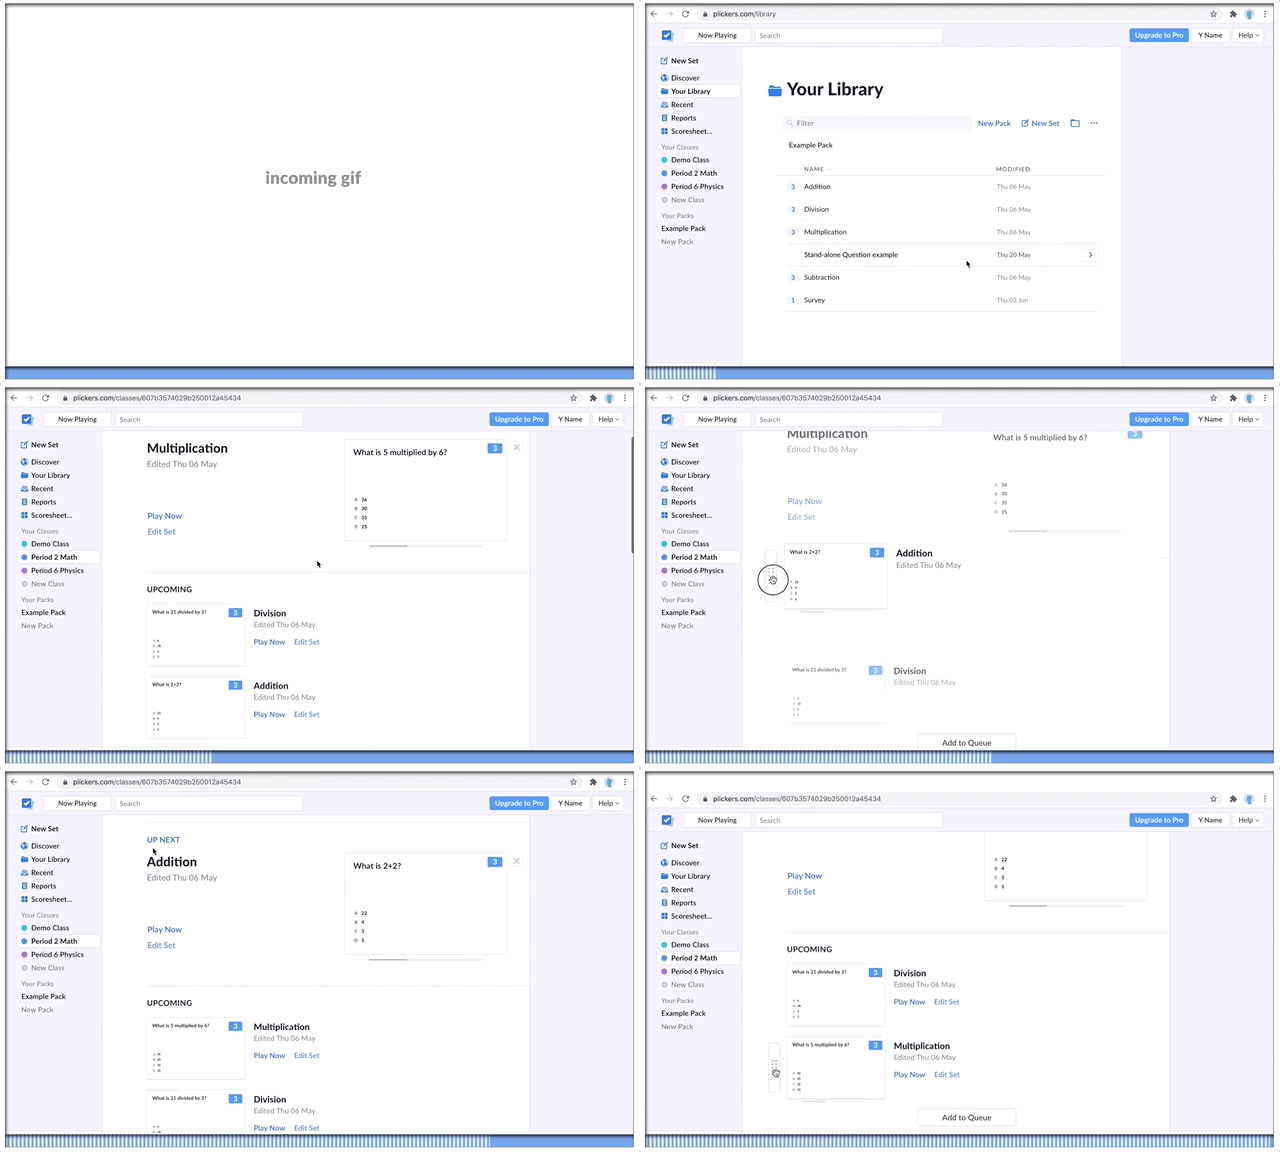
It's only possible to rearrange your Queue through plickers.com using your laptop/computer, but you'll see there's two options to choose from below. The following gif shows the drag-and-drop route:

For more details, select the toggle menus below to follow the steps for each method:
-
This is useful if you want to make a couple of quick tweaks to the order of items that are close to each other in the Queue. If you want to send an item directly to the top of a long Queue, the right-click function will probably be the better route to take.
-
Sign in to plickers.com on your laptop/computer
-
Select your Class from the left-hand sidebar
You'll be presented with your Class Homepage and your Queue will probably be taking up most, if not all, of your view.
More infoIf you still need to put your Queue together, check out our How-to guide here.
-
Hover your cursor over the item you'd like to move
You'll see a scrollbar icon appear to the left of the item title, which looks like this:
-
Drag the scrollbar icon
up or down to re-order your item
By doing this, you can drag-and-drop your content item, so moving it to your desired position in the Queue.
-
-
If you prefer not to drag-and-drop, you can choose to use the right-click menu to perform this task. It's particularly useful here if you want to quickly move an item to the top of a long Queue.
-
Sign in to plickers.com on your laptop/computer
-
Select your Class from the left-hand sidebar
You'll be presented with your Class Homepage and your Queue will probably be taking up most, if not all, of your view.
More infoIf you still need to put your Queue together, check out our How-to guide here.
-
Find the item you'd like to re-order in your Queue
-
Right-click on your desired item
You'll see a menu appear like in the screenshot below:
-
Select the option you require
As you can see in the image above, these are the choices you have:
- Move Up Next - this moves the item to the top of the Queue, so that it's played next
- Move up - this moves the item up one position in the Queue
- Move down - this moves the item down one position in the Queue
-
To add more items to your Queue, simply look for the Add to Queue button, located at the bottom of your Queue at plickers.com.
And that's everything you need to know about re-ordering content in your Class Queues. If you have any further questions, please feel free to get in touch via email at support@plickers.com
Comments
0 comments
Article is closed for comments.