Flash guide
- In the Editor at plickers.com, navigate to the question prompt or answer choice that contains your sound clip
- Hover over your sound clip and select Edit
- In the Sound Clip Editor, drag the left-hand blue bracket to where you want the audio to start
- Drag the right-hand blue bracket to where you want the audio to end
- Select the blue Done button (or press Enter)
This guide takes you through how to edit the sound clips you've already added to Plickers.
The main feature available is a trimming tool, which will be the focus of this article (it's also possible to rename your sound clips - click here for more info).
Trimming is a method of editing an audio clip so that only a relevant section is included in the final version for your question or answer choice.
If you'd like to find out how to include your sounds in the first place, check out our How to include sound clips in your Plickers content article linked here.
Access the Audio Editor
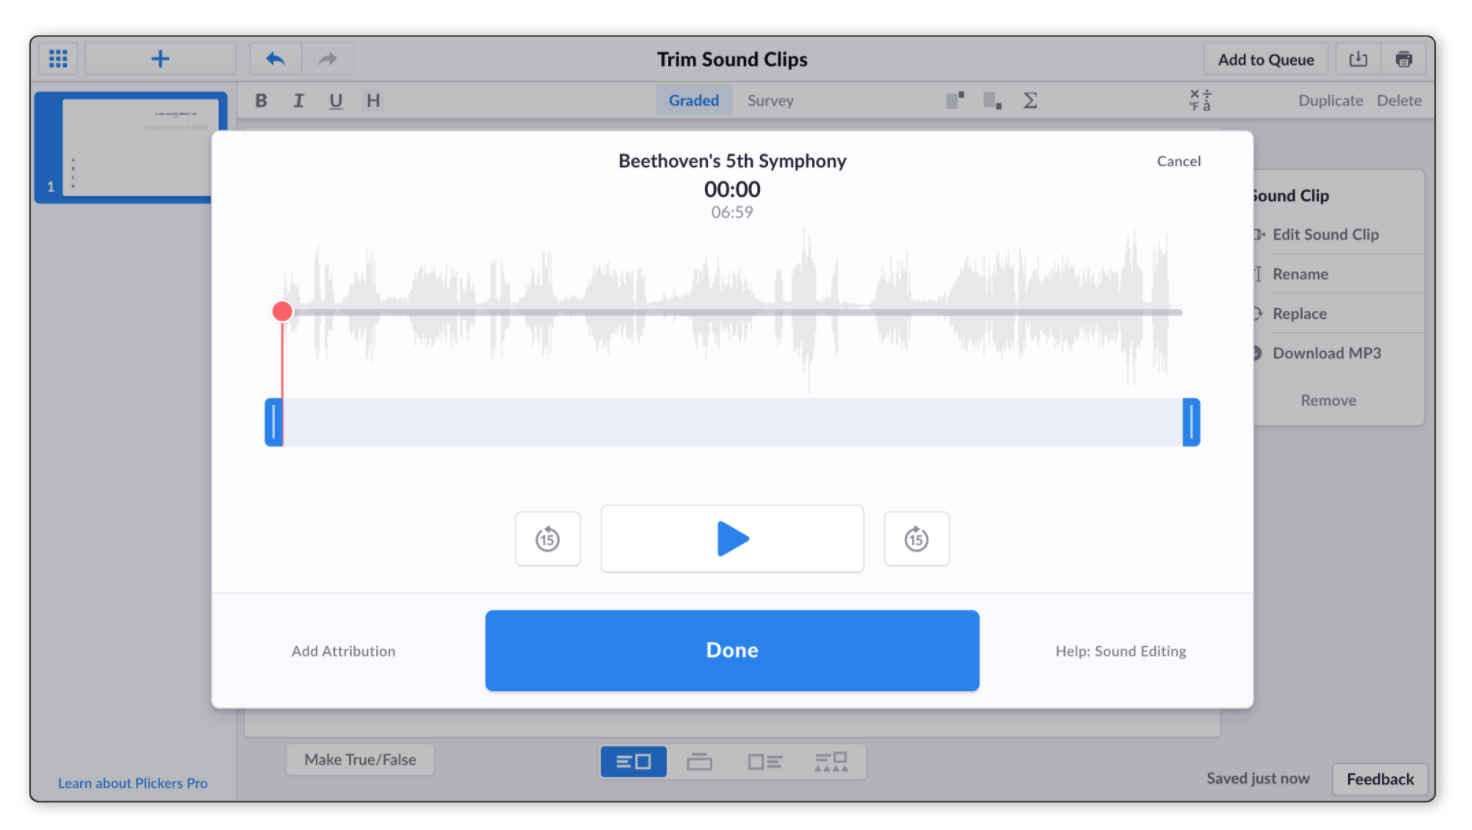
This is the Audio Editor window you'll be using:
There are two main routes you can take to access it:
-
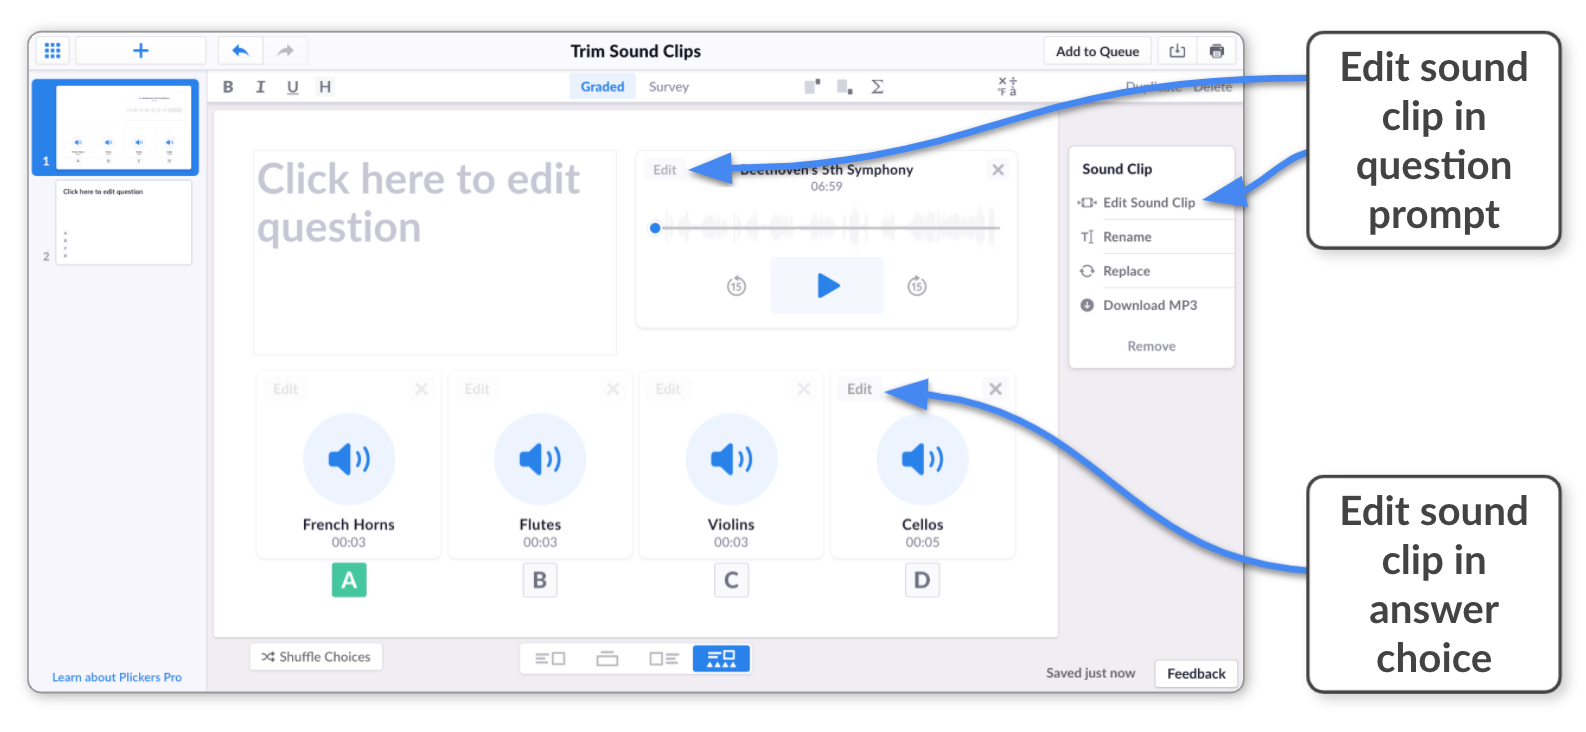
For sound clips in question prompts, select the Edit Sound Clip button in the right-hand toolbar. Or you can hover your mouse over the sound clip graphic and select the Edit button in the top left-hand corner.
For answer choices, hover over the sound clip and then select the Edit button in the top left-hand corner of the graphic.
The screenshot below illustrates where these buttons are displayed:
-
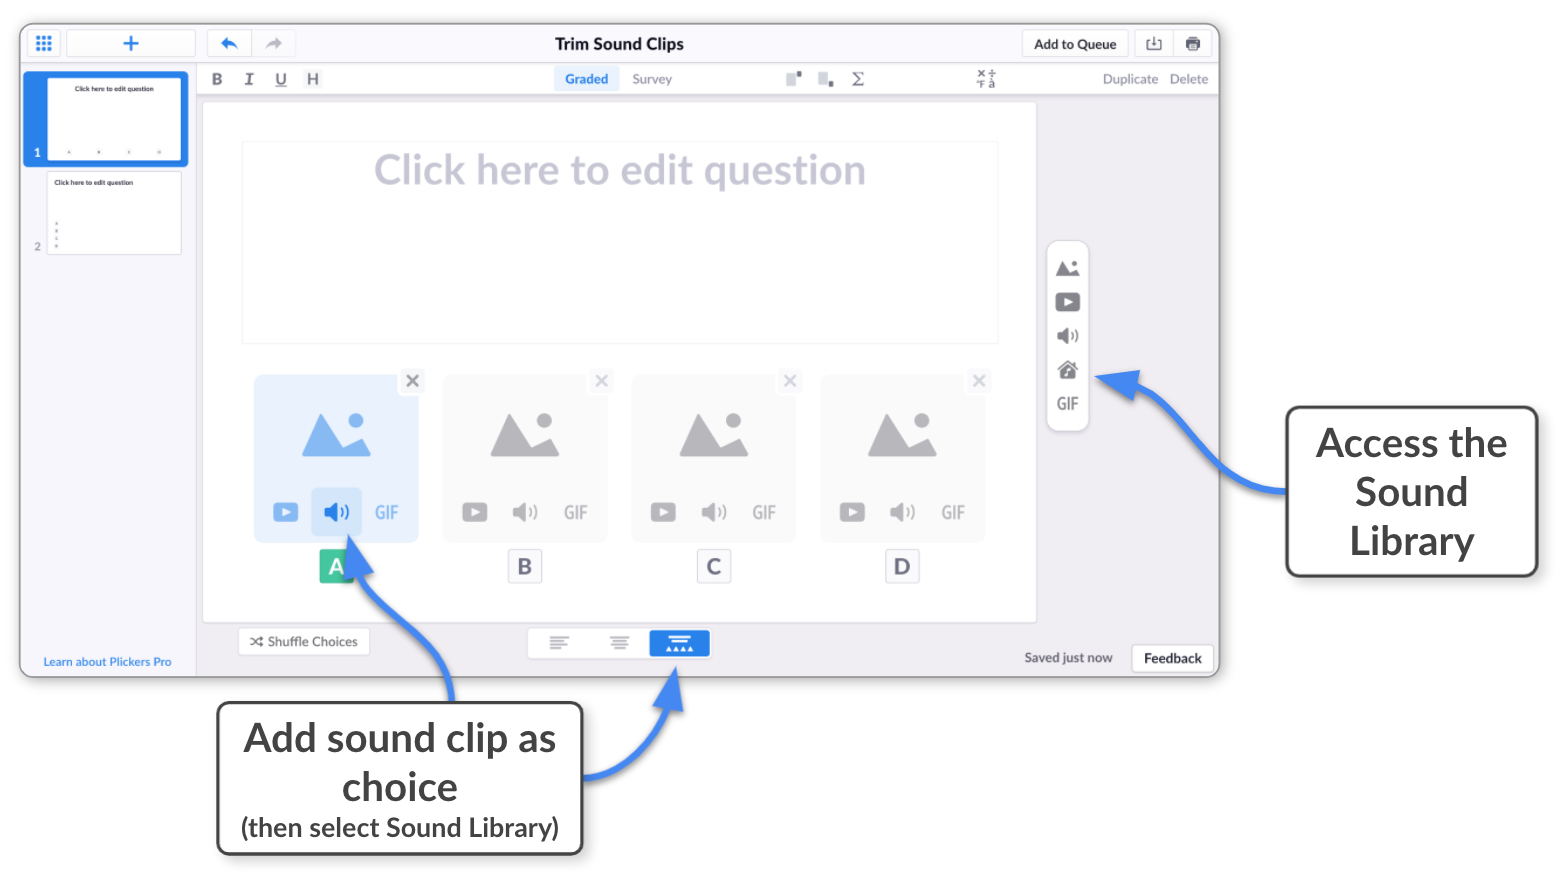
You can access the Sound Library for a question or choice by using either the Media Toolbar, or our Media as Choices functionality.
The Sound Library window looks like this:
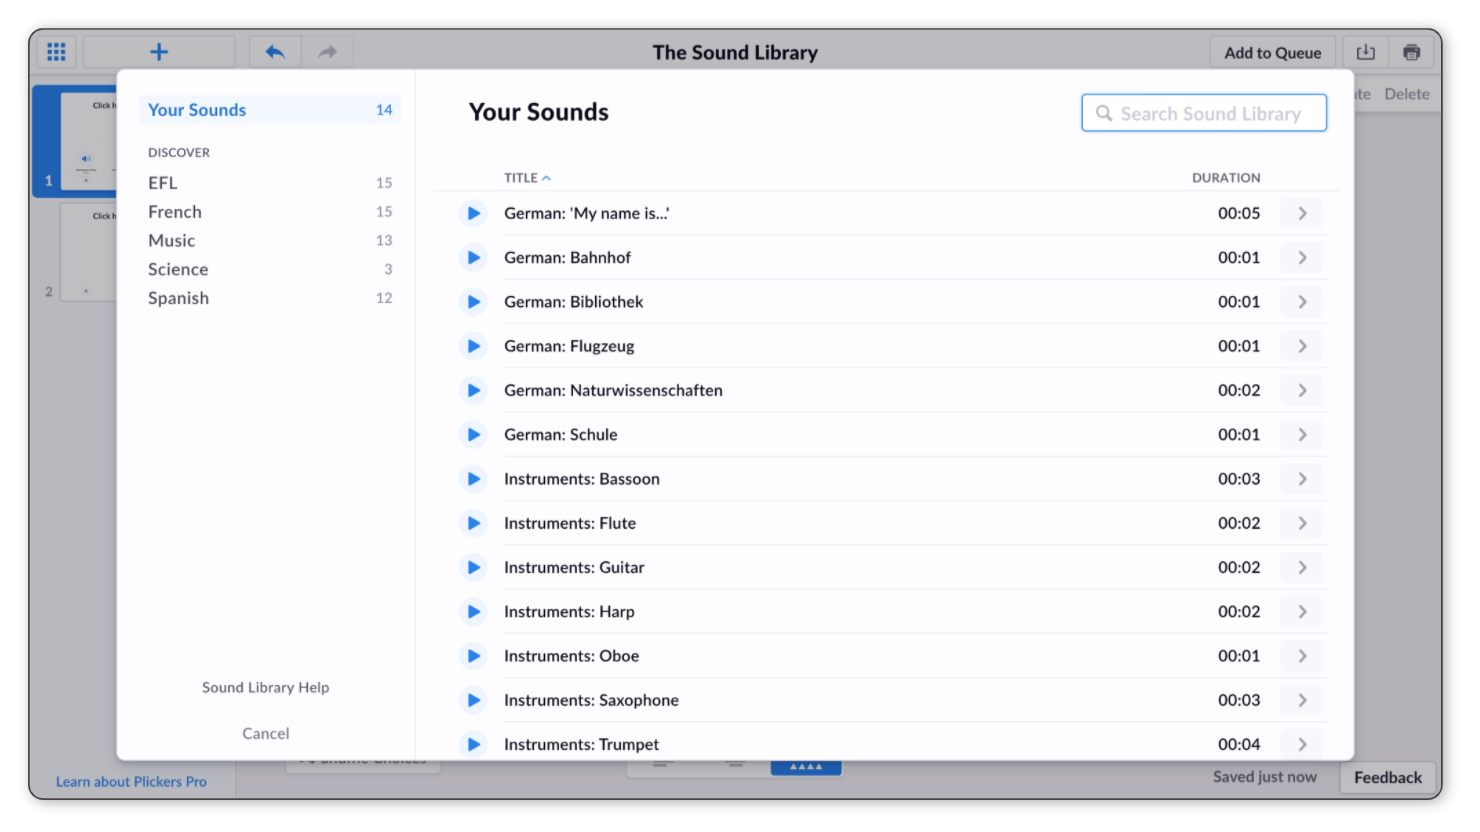
To edit any of the sounds listed, you simply need to select the arrow icon
 on the right-hand side of the sound you'd like to use.
Trim your sound clip
When trimming a sound clip in the Plickers Audio Editor, the aim is to set the blue bar underneath the timeline so that it covers only the section that you require. This involves moving the start point, the end point, or both.
There are a couple of ways you can do this:
-
This method is best if you want to be precise with your edits.
What is the playhead?The playhead is the red marker that signifies which part of the clip is currently playing. As you begin listening to the clip, the playhead starts moving along the timeline.
The gif below gives an idea of the process involved. And you can find more detailed steps written underneath.

-
Sign in to plickers.com and head over to the Editor
-
Find the sound clip you'd like to trim
Enter the Audio Editor, as described above.
-
Move the red playhead to the point you'd like your sound clip to start
You can do this using one of the following methods:
- play the sound clip and then pause it at the appropriate time, or;
- click on your desired point on the timeline, or;
- click, hold and drag the red playhead to scrub through the clip, and release it at your intended start point
-
Click the arrow icon
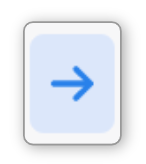 next to the left-hand blue bracket
This will move the left-hand blue bracket so that it aligns with the playhead, indicating the new start point.
NoteThe blue arrow icons will only appear if the audio is paused, and if the playhead is not already aligned with one of the blue brackets.
Bear in mind that the arrow icon might look like
or 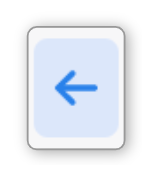 depending on where the playhead is in relation to the blue bracket.
 -
Move the playhead to the point you'd like to end the sound clip
-
Click the arrow icon
next to the right-hand blue bracketThis will move the right-hand blue bracket so that it aligns with the playhead. You've now set the end point of your sound clip.
-
Preview your sound clip by selecting 'Play Clip' below the selection bar
This button will only appear if you've made edits.
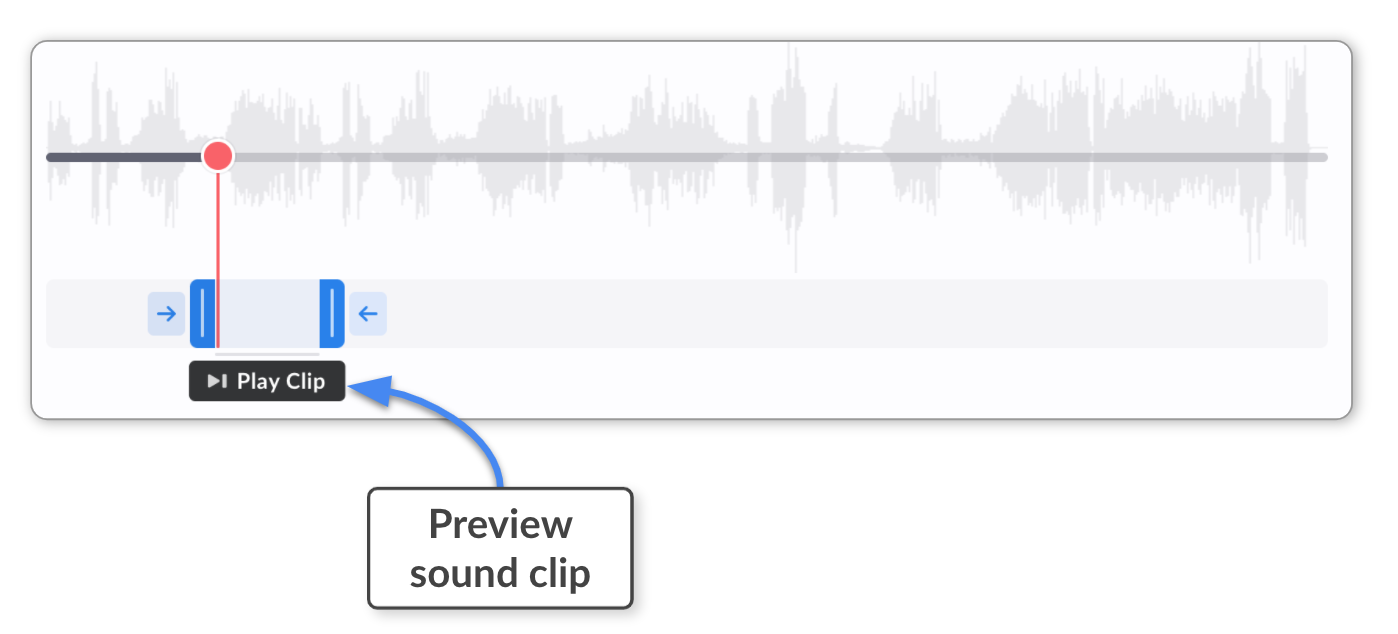
The sound clip will start playing from your defined start point, and stop at your defined end point.
-
Click the blue 'Done' button
If you're happy with your edits, click Done (or hit Enter) and you'll insert the edited sound clip into your question or answer choice.
-
-
Instead of using the arrow icons, you can simply drag and drop the blue brackets to where you want the sound clip to begin and end. This is the method to use if you only need a rough, quick edit.

-
Sign in to plickers.com and head over to the Set Editor
-
Find the sound clip you'd like to trim
Enter the Audio Editor, as described here.
-
Underneath the timeline, click, hold and drag the left-hand blue bracket
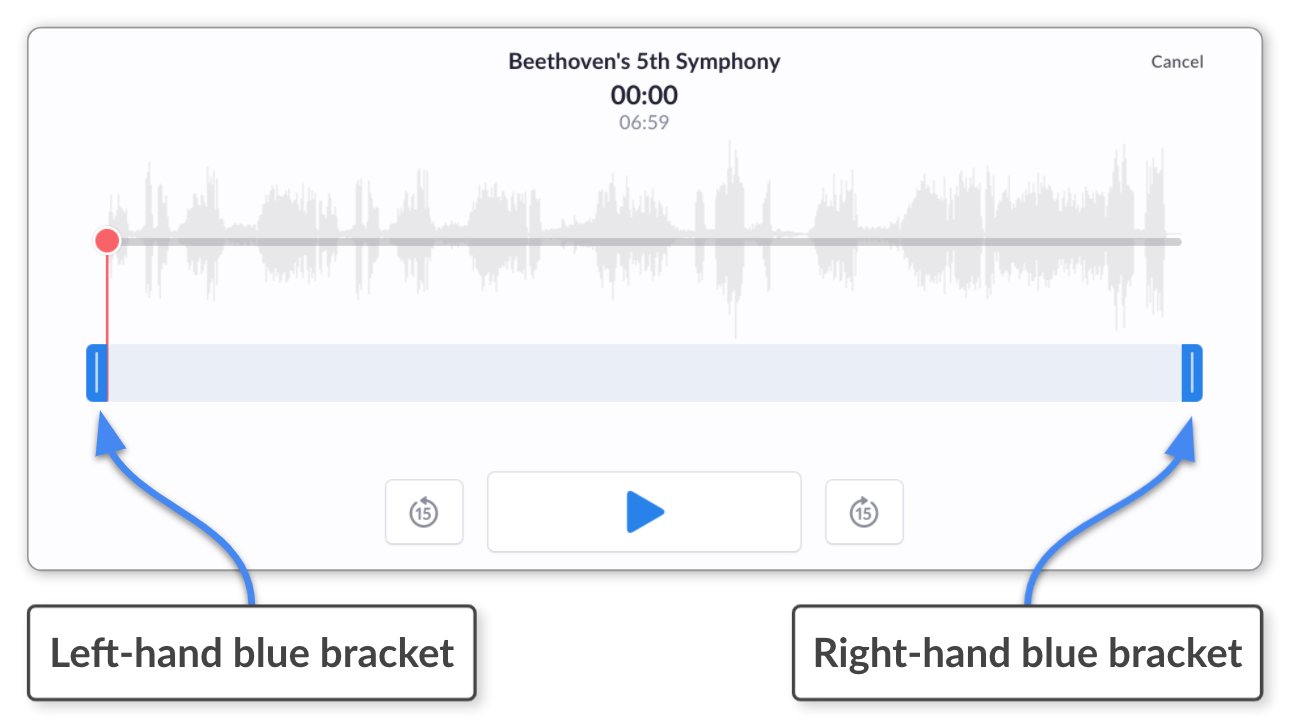
Place the bracket where you want the sound clip to start.
-
Click, hold and drag the right-hand blue bracket
Place the bracket where you want the sound clip to end.
-
Preview your sound clip by selecting 'Play Clip' below the selection bar
This button will only appear if you've made edits.
The sound clip will start playing from your defined start point, and stop at your defined end point.
-
Click the blue 'Done' button
If you're happy with your edits, click Done (or hit Enter) and you'll insert the edited sound clip into your question or answer choice.
-
Rename your sound clip
This might be useful if you've uploaded an audio file and the name doesn't match your Plickers content. Or it might help to organize your sounds if you plan to make use of our Sound Library feature.
Basically, if you see a text box within a sound clip graphic, you can click into it to alter its name. Here are those possible locations:
-
If you've added a sound file into a question or answer choice, you can click on its title to change the name:
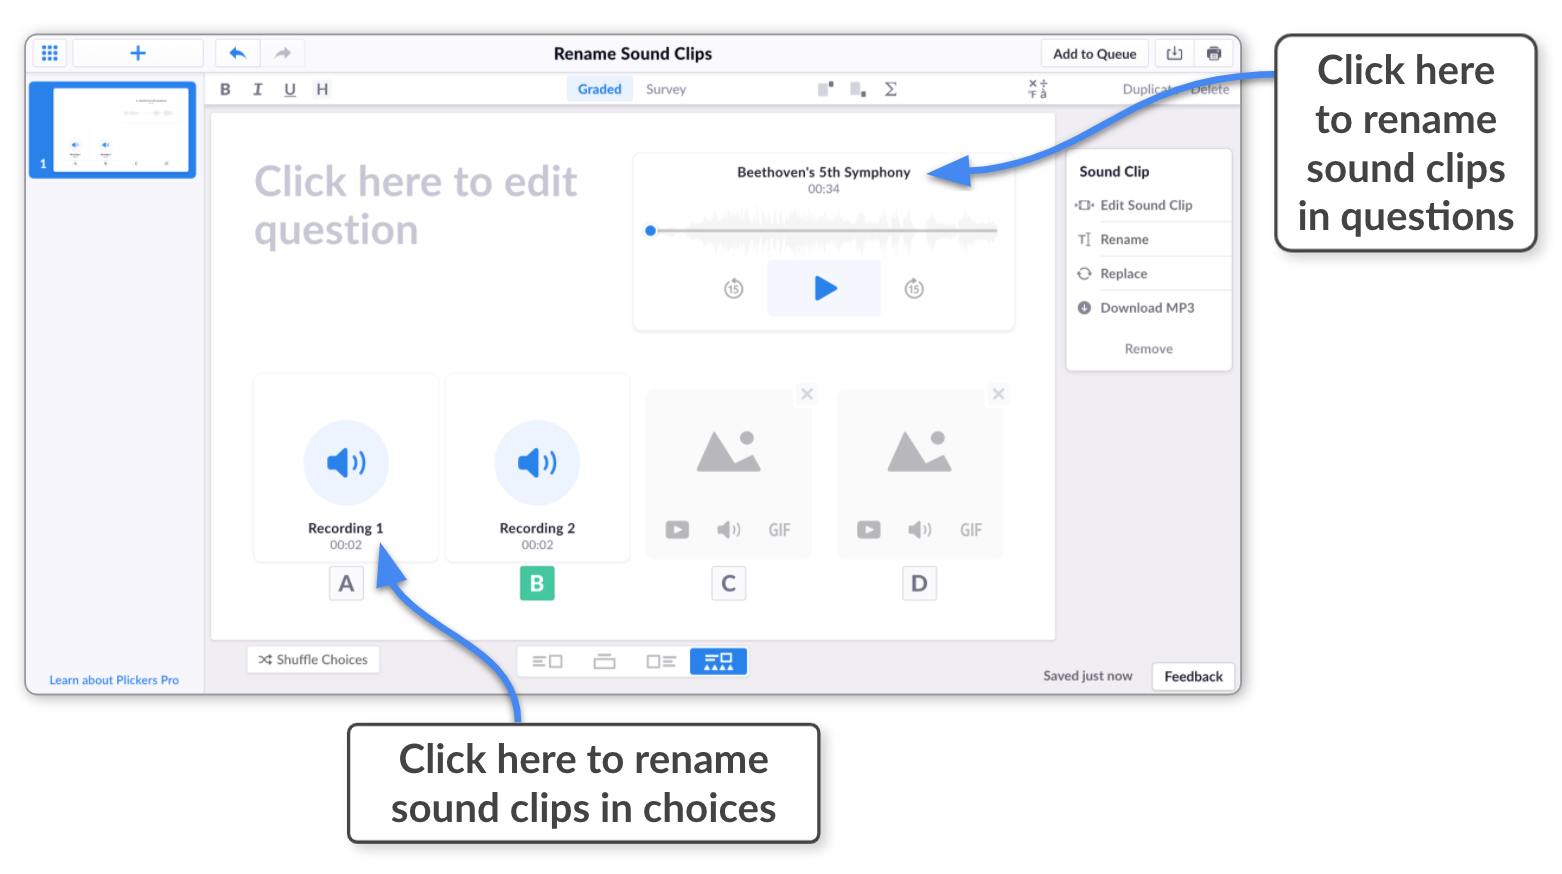
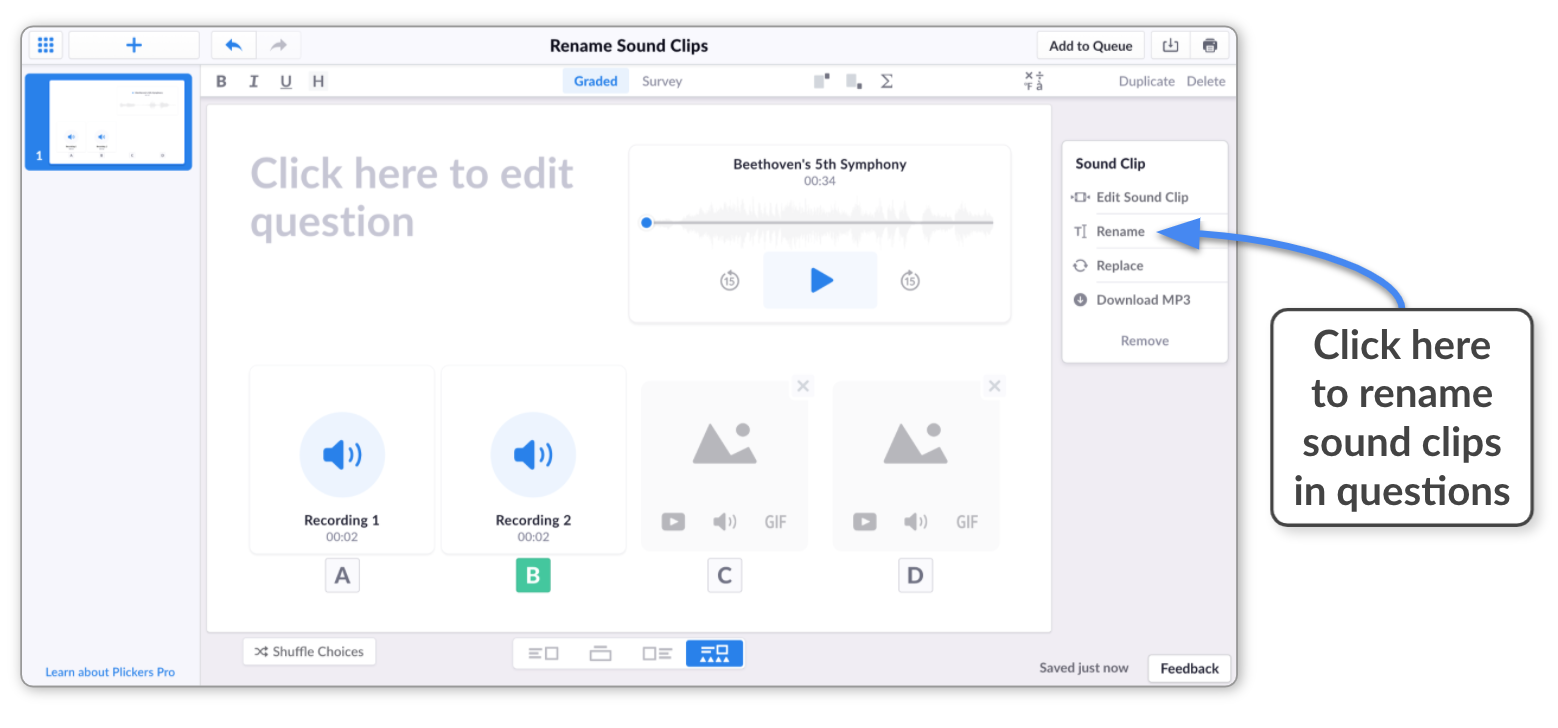
-
There's a dedicated button you can use to change the name of a sound clip in your question prompt. Its location is shown below:
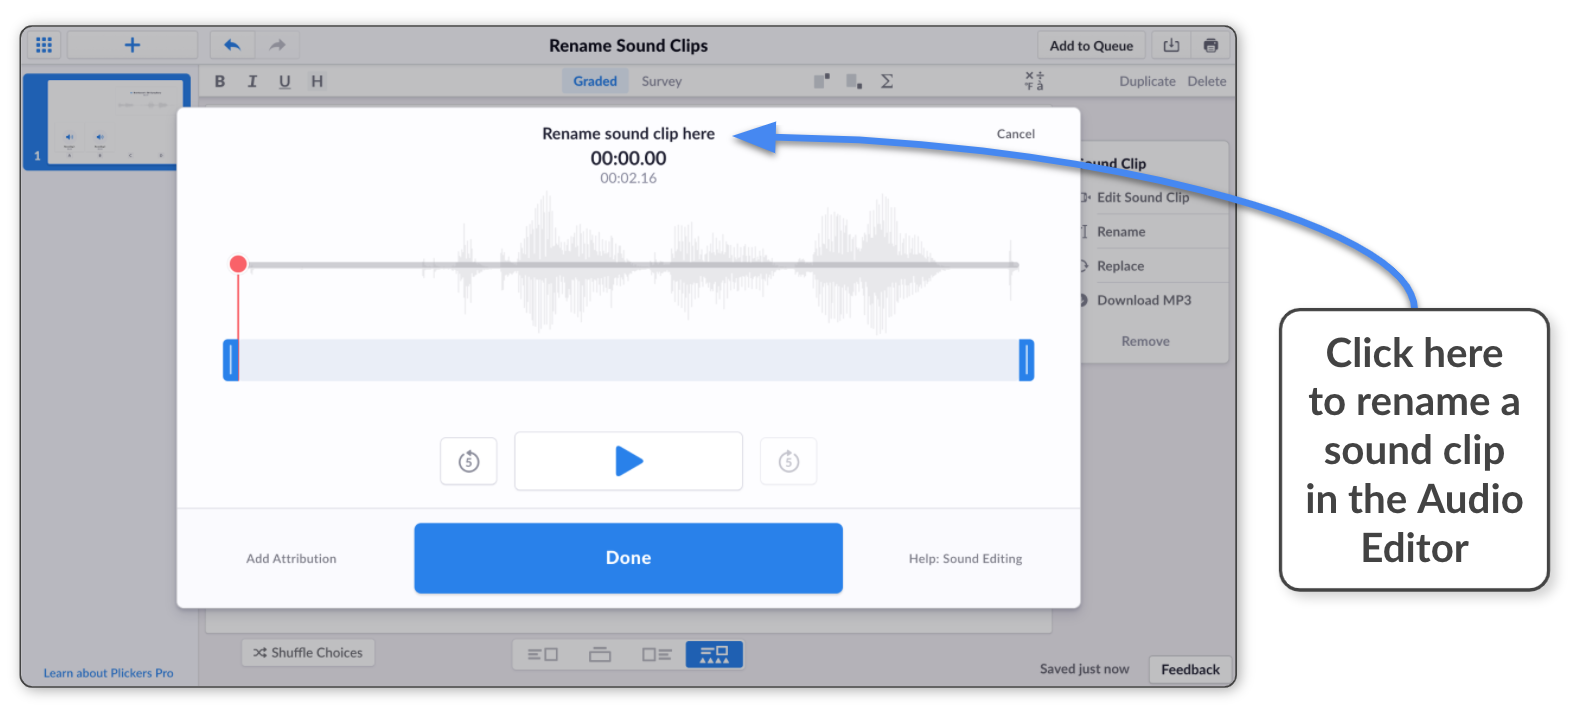
-
As you're trimming your sound clip, you can also change its name in the text box at the top of the Audio Editor window:
Thank you for taking the time to read through this guide. If you have any questions about sound clips, or indeed anything Plickers-related, please feel free to get in touch at support@plickers.com, and we'll be very happy to help.
You may also be interested in the How-to Guides below, which cover other types of media you can include in your Plickers content:
Comments
0 comments
Article is closed for comments.