Whether you're creating a Set or a Standalone question, you'll be making use of the Plickers Editor.
This article will take you through everything you need to know about the Editor, from how to access it, to all the features within it, and finally what to do when you're done editing.
In this article:
To create content, you'll need to use plickers.com on your computer, rather than the Plickers mobile app. It's useful to think of the website as the place for prep, and the mobile app as a controller in class.
Access the Editor
The way you'll access the Editor depends on whether you're creating a new content item, or making changes to an existing one. Use the toggle menus below to find out more about each:
-
-
Log in to plickers.com on your laptop/computer
You'll arrive at your Plickers homepage (specifically, Your Library).
-
Select the 'New Set' button in the top left-hand corner
You'll be taken to the Set Editor, where you can start creating your questions.
Check out our dedicated How-to Guide to find out more about creating Sets.
NoteWe'd recommend using Sets to create content, but if you'd rather create a Standalone Question, you can click on the 3-dot icon towards the right of your homepage.
-
-
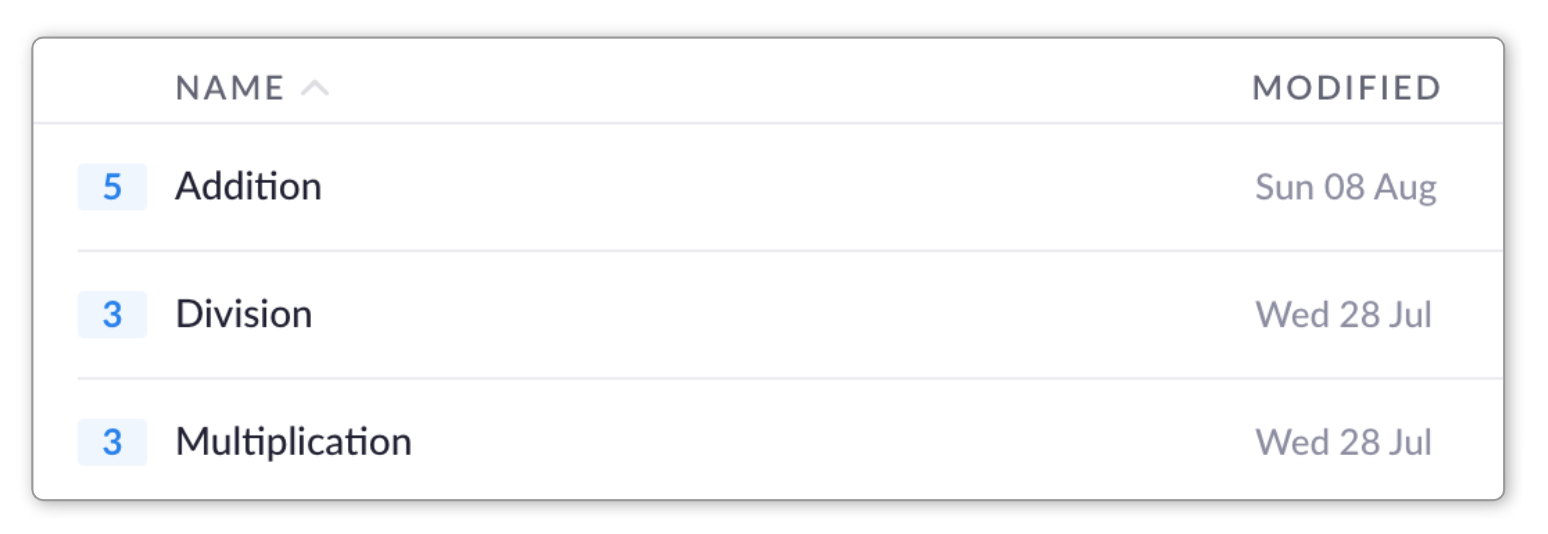
To access the Editor and make changes to your existing content, you just need to find the title of your item in the Your Library, Recent or Pack pages of plickers.com. It'll look something like the image below, which shows three Sets listed:
You can then try one of the following things:
-
Double-click
Double-clicking on the title of your content item will take you straight to the Editor.
-
Right-click
A right-click on your content item's title will produce the following menu:
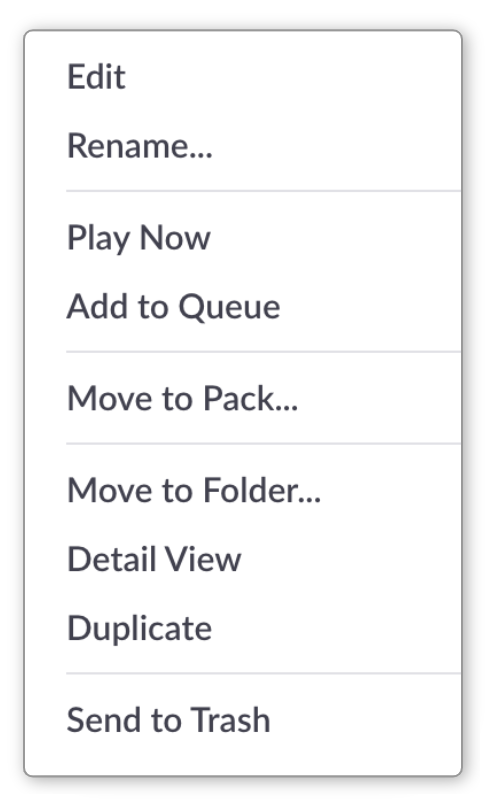
You can then select the Edit option at the top.
-
Use the right-hand sidebar
If you select the content item title with a single click, the item will be highlighted in blue and you'll see its information appear in the right-hand sidebar (as shown below).
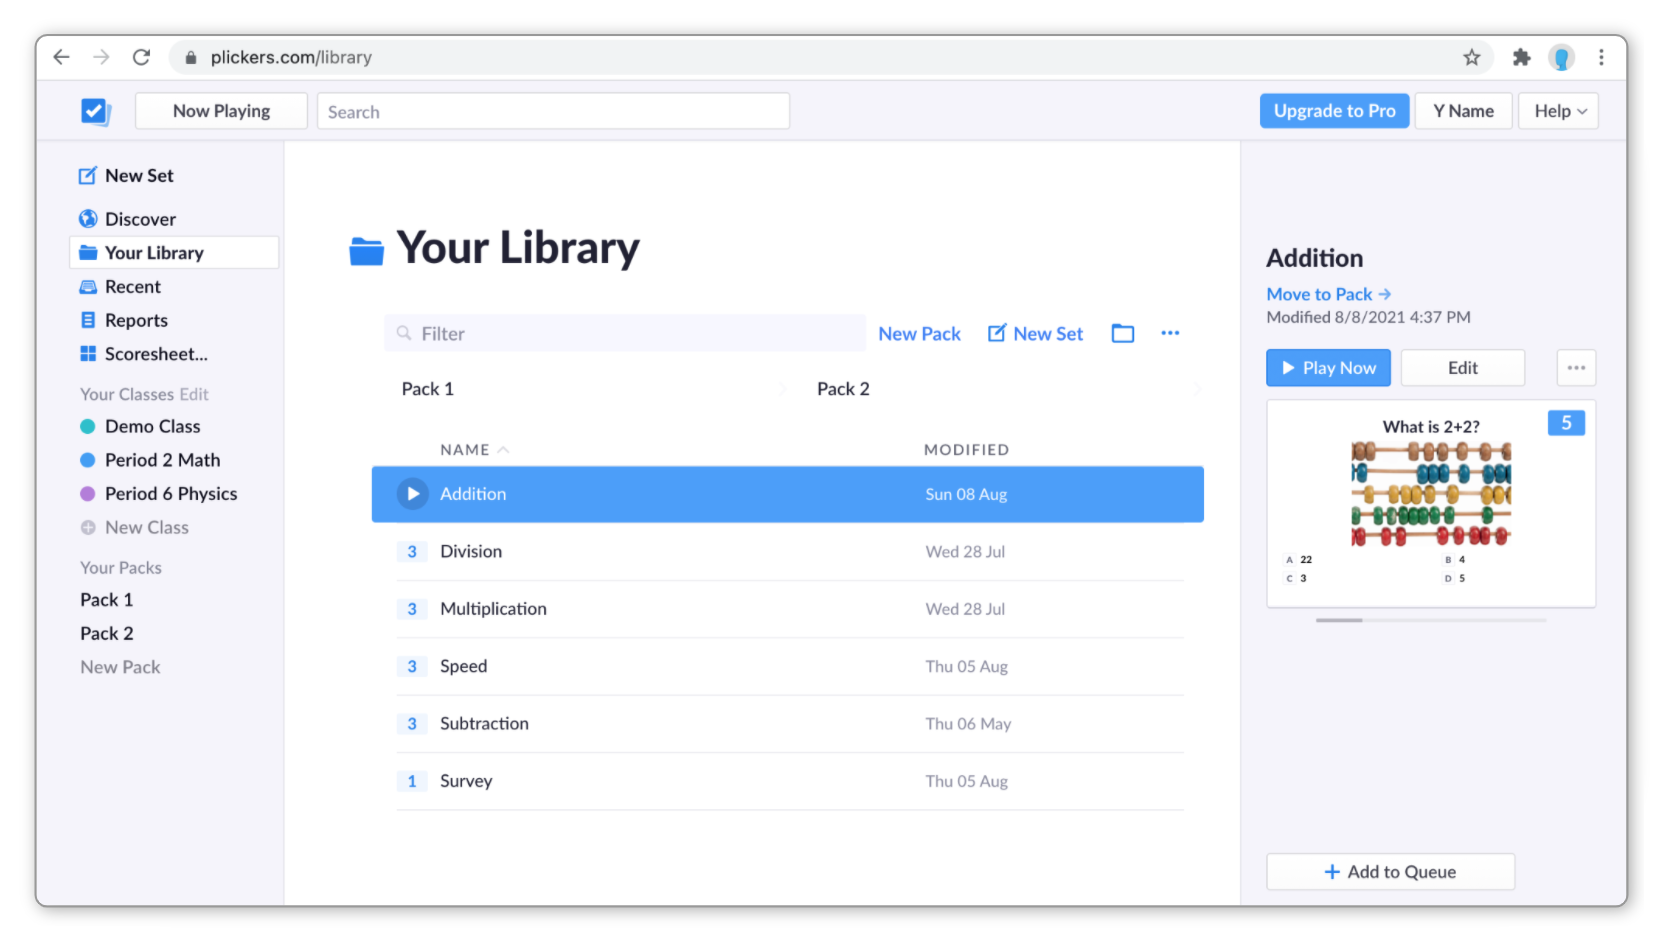
To access the Editor for that item, select the Edit button above the slide preview.
-
For each of the options above, the Editor will open in a new tab in your browser.
Take care with opening new Editor tabs. Make sure you don't have multiple Editor tabs open for the same content item, as this could lead to saving issues.
Back to top
Editor features
There are several different features available in the Editor that you can use to create high-quality questions for your students. We've tried to make things as intuitive as possible, so the best way to get to know the Editor is probably to experiment a little as you create your first batch of content.
But for those who prefer to read a little about what's available, we've included some annotated diagrams below. The numbered labels correspond with the toggle boxes under each diagram.
We've used the Set Editor as a base for our diagrams here. If you're using the Question Editor, don't worry, it essentially acts in the same way (just minus a couple of features, like the left-hand slide list for example).
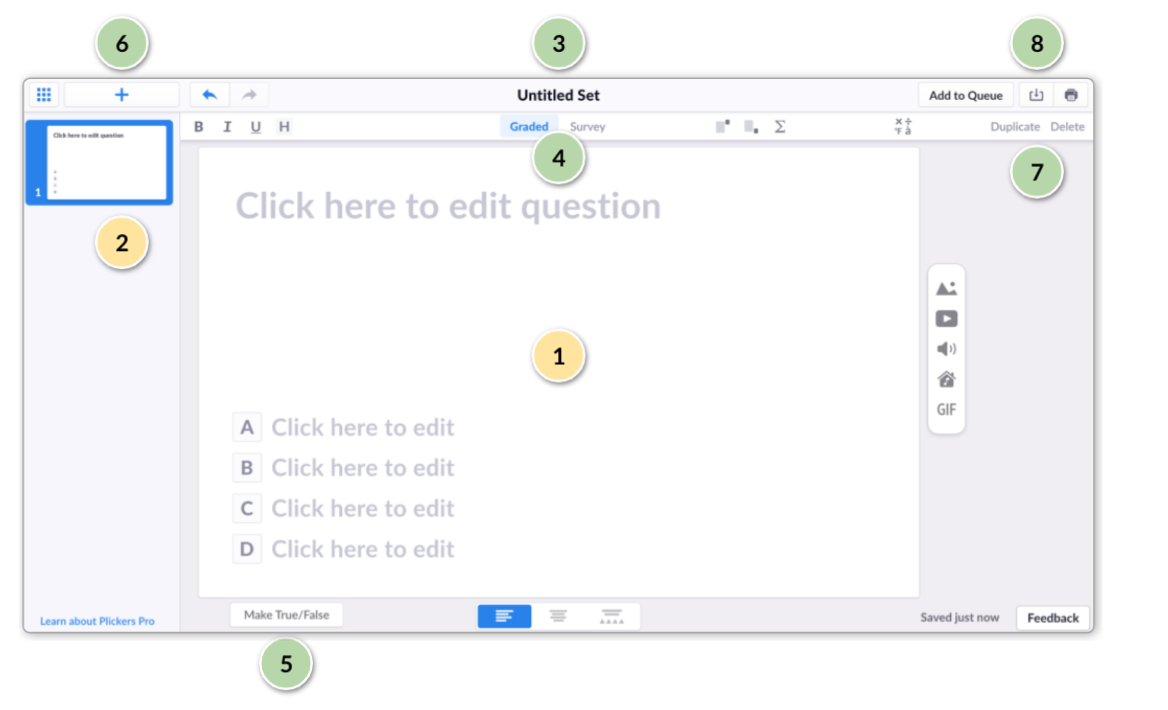
Sections of the Editor (yellow labels)
-
This is where you'll type in your question, the correct answer, and your distractor choices.
To mark the correct answer, simply click on the square containing the appropriate letter - it will then turn green.
TipFor greater efficiency, we'd recommend that you type your correct answer first into choice A, then the distractor choices underneath, then select the Shuffle button (toggle box 13 below).
-
In the Set Editor, you can use the left-hand sidebar to navigate and organize the questions within your Set.
To make changes to the slides, you can try right-clicking a specific slide to reveal the following options menu:
 Tip
TipThe Cut, Copy and Paste functions in the menu above allow you to move entire question slides both within and between Sets.
It's also possible to drag and drop slides up or down in the sidebar, if you need to re-order your questions.
Setting up your questions (green labels)
-
This is available at the top of only the Set Editor (Standalone Questions use the question text as their title).
We like to name our Set before we do anything else, as it helps to keep content organized within our Plickers account.
-
As well as graded questions, it's possible to create surveys that don't require a correct answer, allowing you to anonymously gauge student opinion, or spark discussion in your classroom.
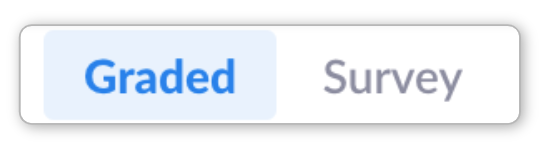
Use the buttons shown above (located at the top of the Editor) to determine whether your question will be Graded or Survey.
-
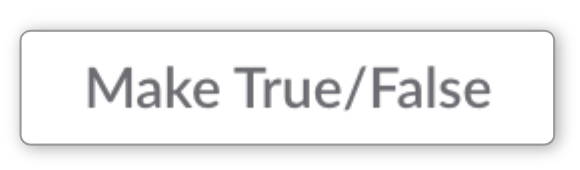
Use this button to quickly add True and False as the only two choices available.
 Note
NoteRemember to select the correct answer in this instance (choice A is set as correct by default).
This option is only available immediately after you create a new question. Once you've edited the choices manually, it will disappear.
Check out box 14 (Remove choices...) below to find out how to do this manually.
-
This button adds a new question to your Set. It's located in the top left-hand corner of the Editor.
-
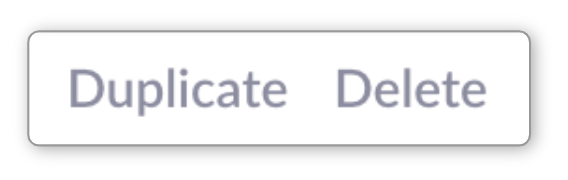
These buttons will duplicate or delete the question slide that you're currently viewing (the one highlighted in blue in the slide list).
As an alternative, try right-clicking the question in the slide list that you want to duplicate or delete - you'll see the options are included in that menu too.
-
If you already have a collection of questions available, you can use our Import Questions feature to quickly and easily add them to a Plickers Set.
It works through a simple copy/paste workflow, and it can handle multiple-choice questions from lots of different sources, including from other online platforms and personal documents too.
More infoThere are more details available on importing questions in our How-to Guide linked here.
That's the first half of the available Editor features covered. As a reminder, here's the view of the Set Editor again, this time with the remaining features labelled...
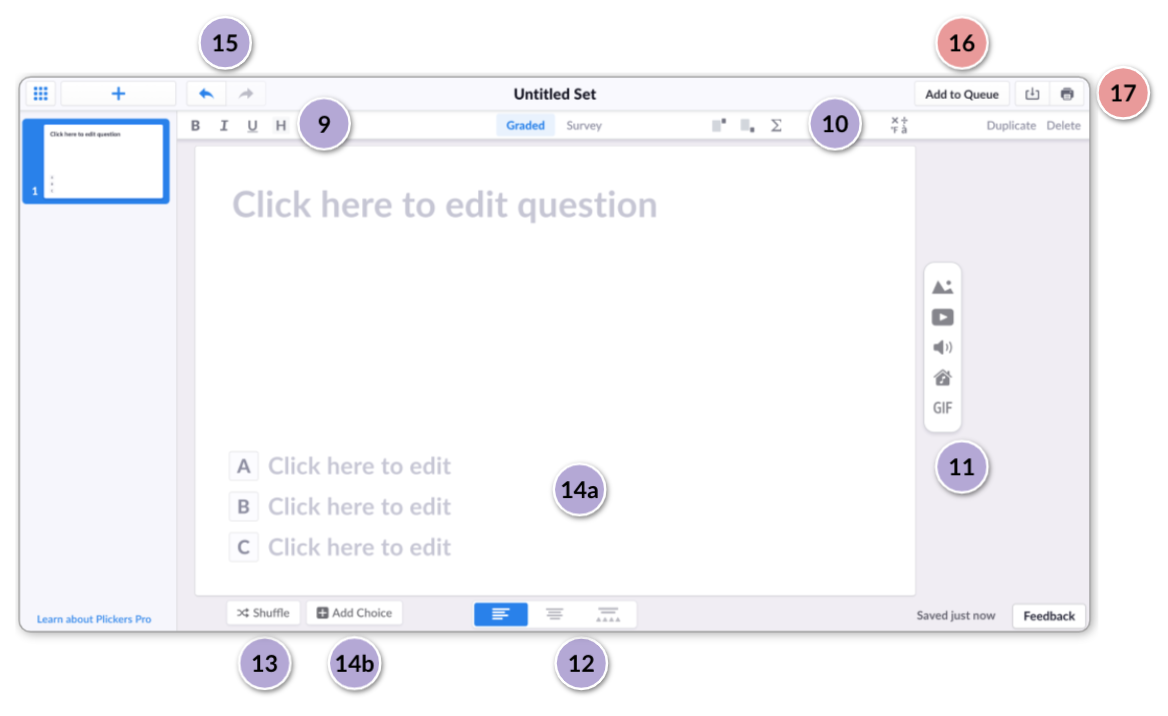
You'll notice that the Make True/False button has been replaced by Shuffle and Add Choice at the bottom of the diagram. The toggle boxes 13 and 14 below will shed more light on this.
Writing your questions (purple labels)
-
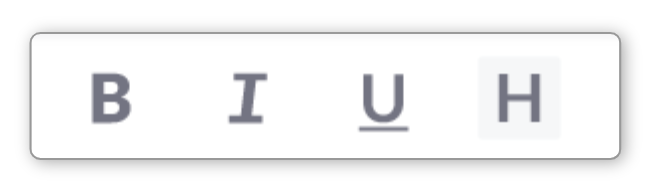
On the left-hand side of the horizontal toolbar at the top of the Editor, you'll find the buttons to bold, italicize and underline your text. It's also possible to highlight text using a selection of colors, to really make your questions and choices pop.
-
The buttons located on the right-hand side of the top horizontal toolbar will be particularly useful to math and science teachers, as you'll be able to write in subscript & superscript, add symbols and use LaTeX to put together complex equations.

There's good news for non-math teachers here too, as our list of symbols spans a wide range of subjects, including languages and music.
-
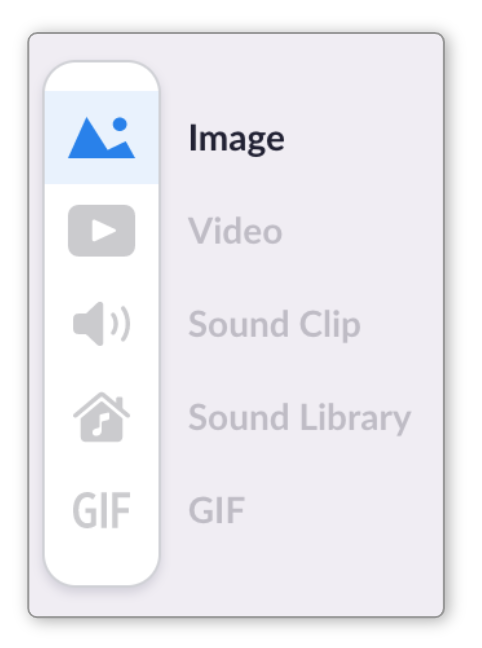
This toolbar allows you to add images, videos, sounds and gifs into your question prompts.
You can also add media to your choices, as mentioned in the next toggle box.
-
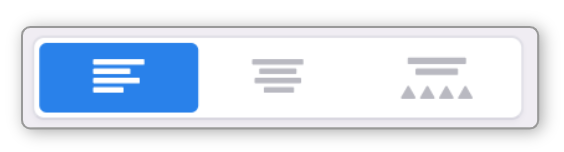
Use these buttons, located at the bottom of the Editor, to either add media to your choices or select a different layout for the question slide.
-
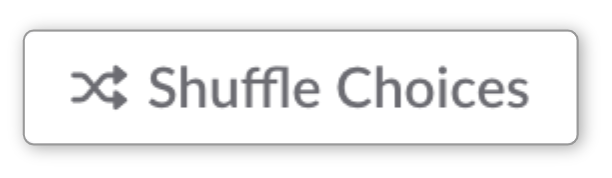
To quickly randomize your choices, click on the Shuffle Choices button at the bottom of the screen.
-
Some questions might only require 2 or 3 answer choices. You can achieve this by hovering your cursor over the choices, which reveals an 'x' icon to the right of the text box:
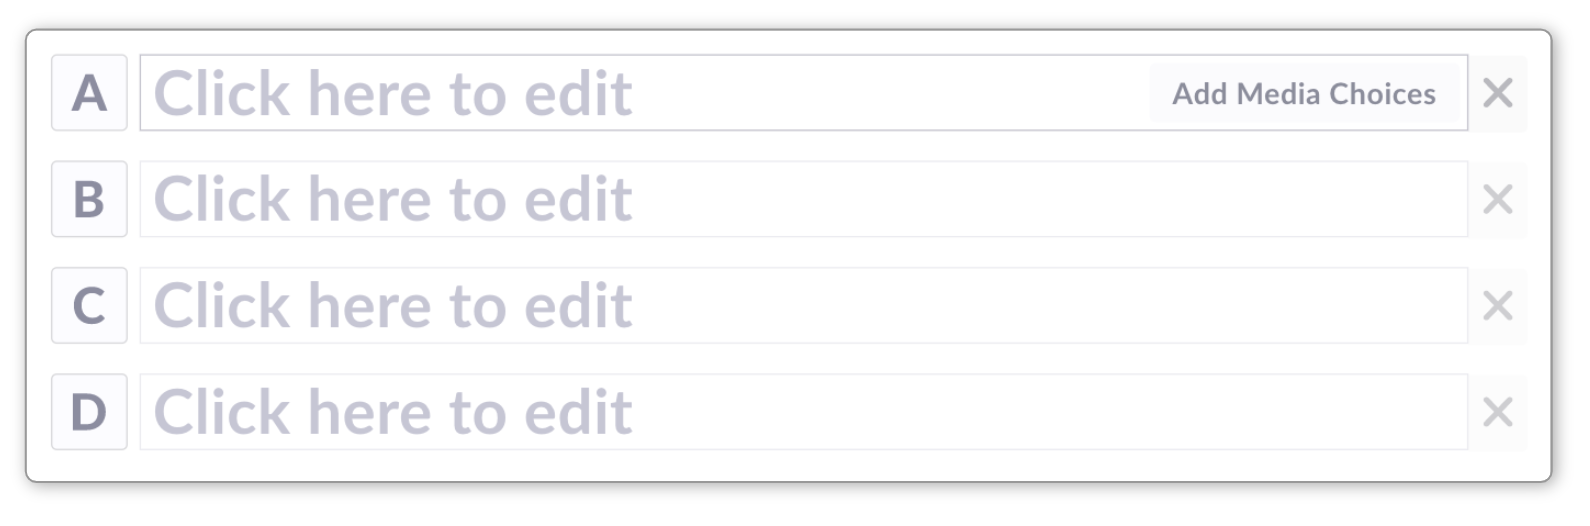
(Eagle-eyed readers will notice that by doing this, you can also reveal a shortcut to add media to the choices.)
TipInstead of leaving an answer choice blank, it's much more preferable to remove it completely using this method, as it leads to more accurate Class results for the question concerned.
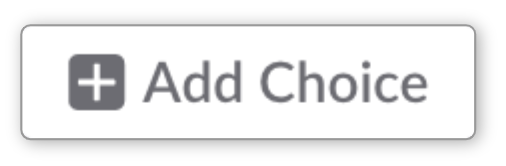
To add a choice in again, you simply need to select the Add Choice button at the bottom of the screen.
-
Made a mistake? It's ok, you can quickly go back to how things were with a quick click of the undo button.
Changed your mind? No worries, that's what the redo button is for.
Moving on from the Editor (red labels)
Plickers saves your content as you create it, so when you've finished creating your Set/questions, you can simply close the browser tab.
Before you close the tab, ensure the status at the bottom right of the Editor displays 'Saved...'. If it doesn't, you may be experiencing a network issue, so we'd advise keeping your tab open and contacting Support.
It's also possible to take the following actions from inside the Editor:
-
You can add the content item you're working on to a Class Queue from within the Editor. The button for this is located in the top right-hand corner of the Editor.
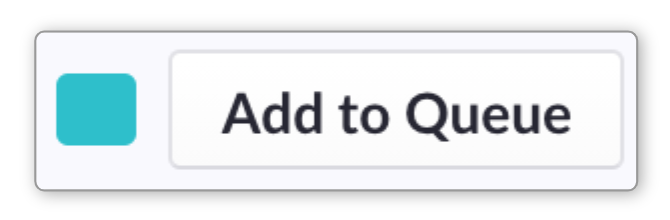
The Classes that contain this item in their Queue will be shown as colored squares adjacent to this button. You can click on these to start playing the item to the Class indicated.
For more information about the Queue, click here. And here for playing items to your Class.
-
Clicking this button in the top right-hand corner of the Set Editor will take you to the Print Handout window. Here you can preview a printed document, tinker with the format and then choose to print or save to pdf.
This function is only available in the Set Editor.
The Editor Menu 
In the top left-hand corner of the Editor is the main menu ![]() . Many of the features included above are also listed here, but there's one thing in particular to mention:
. Many of the features included above are also listed here, but there's one thing in particular to mention:
-
When you insert an image, by default the Editor will include it so that the whole image is showing. This may mean it's resized, possibly making it appear smaller than you would like. This is called Fit mode.
You can choose to increase the size of the image so that it fills the available space on the canvas (which will crop it as a result) - more info about this is available here. This is called Fill mode.
By using the two options provided in the main menu, you can decide which mode Plickers uses by default when inserting an image.
Back to top
Leaving the Editor
The Editor automatically saves your content. So when you've finished creating your content or making your edits, you can either select Your Library from the main menu in the top left-hand corner, or simply close your tab.
However, before you do this, it's important to check that the save status information is showing that your content is saved. It should either say 'Saved just now', or 'Saved 10 mins ago' (as an example).
If you had made an edit more recently than 10 minutes ago (for example), wait a few seconds before leaving the Editor. The 'Saved just now' message should show up soon.
If it doesn't, or if the status reads as 'Save Error', please contact Support.
We hope this Explore article on the Editor has been helpful. To find out more about how to do things in the Editor, we have a number of How-to Guides available - it's probably best to start with the article linked below:
Comments
0 comments
Article is closed for comments.