In this article:
If you've already created a Class with students (or had initially skipped the Add Students stage), and you need to add a few names to the roster, then you're in the right place.
Flash guide
- At plickers.com, select your Class from the left-hand sidebar
- Click on the graduation cap icon in the top right-hand corner of the page
- Use the Quick Add Student text box or the Add Student link to enter your additional names
There are two slightly different ways to go about this, depending on how many students you'd like to add.
Adding individual students
If you've just got one or two names to add, the quickest method is to use the Quick Add Student text box. Here's how:
-
At plickers.com, navigate to the Class you'd like to work with
You can reach your Class Homepage by clicking on the name of your Class in the left-hand sidebar.
-
Click the graduation cap icon


Clicking the graduation cap icon will take you to the Students page.
-
Click on 'Quick Add Student'
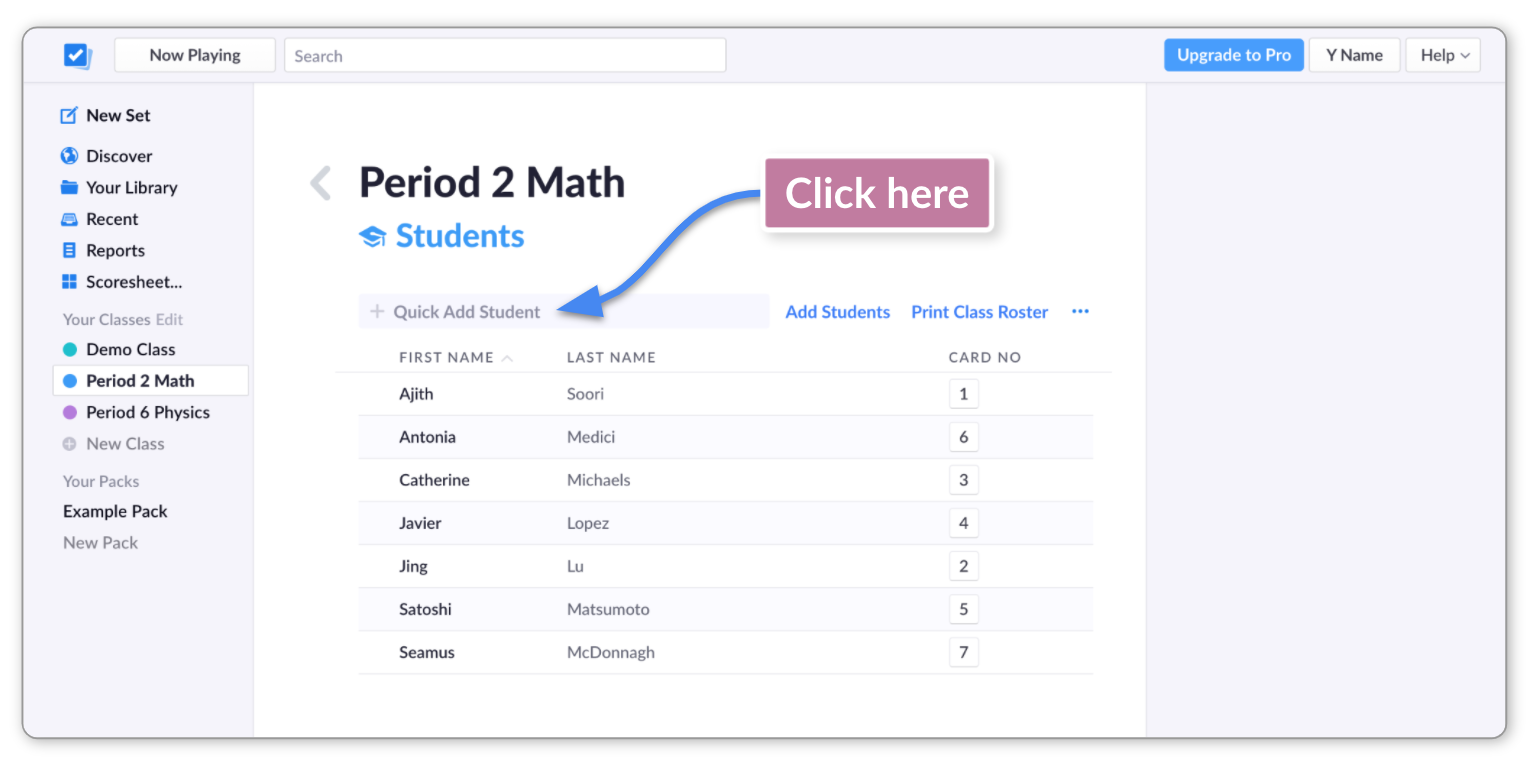
-
Type in the name of the student you'd like to add
Then click Add, or press Enter, to include that student in the roster.
NoteYour recently added student will be assigned the next available card number. It is possible to change their card number - click here for more info.
Adding several students at once
If you have a list of students you'd like to add to an existing Class, it'll be easer to use the Add Students link instead. Below are the steps to follow:
-
At plickers.com, navigate to the Class you'd like to work with
You can reach your Class Homepage by clicking on the name of your Class in the left-hand sidebar.
-
Click the graduation cap icon
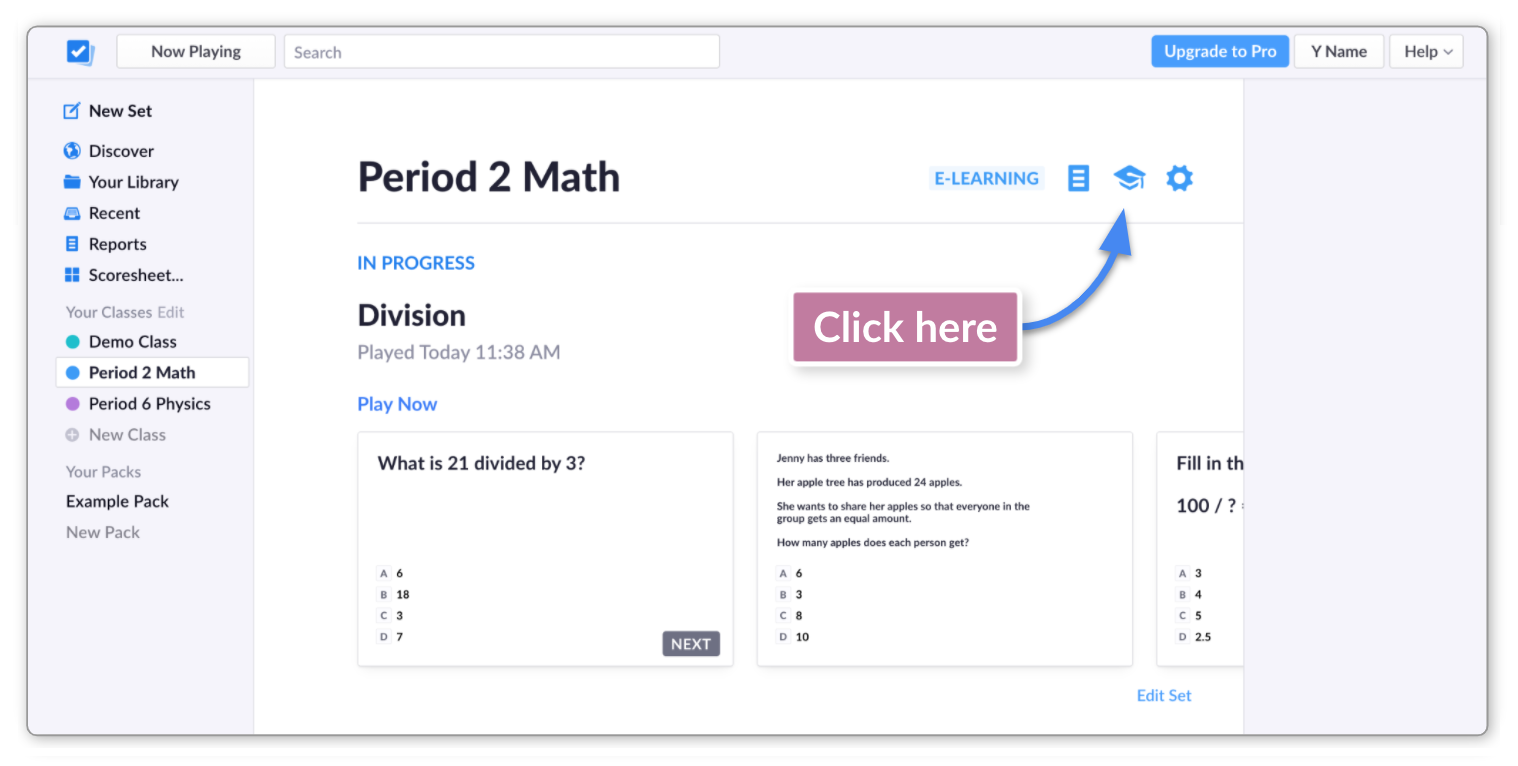
Clicking this graduation cap icon will take you to the Students page.
-
Click on the 'Add Students' link
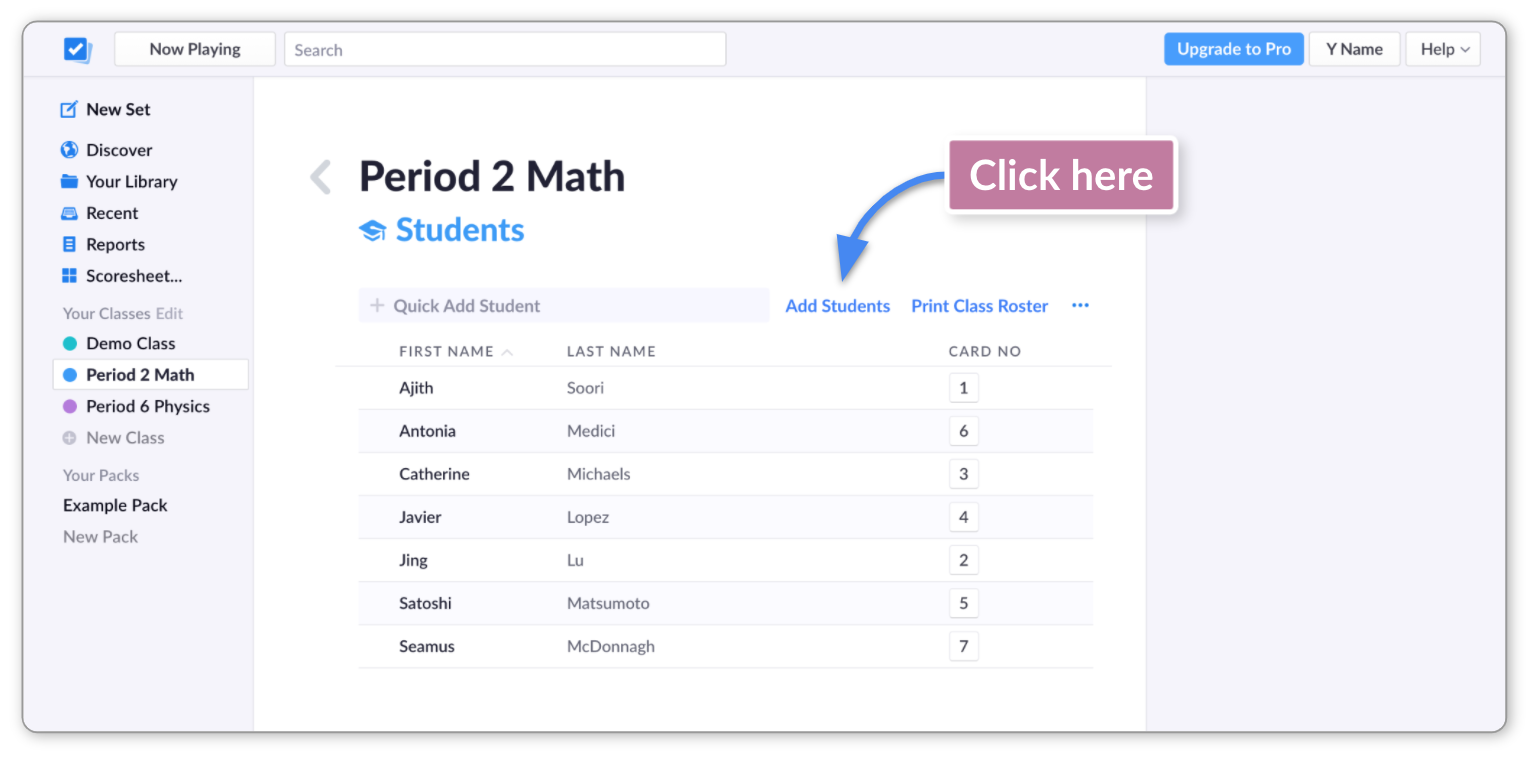
The following pop-up window will appear:
-
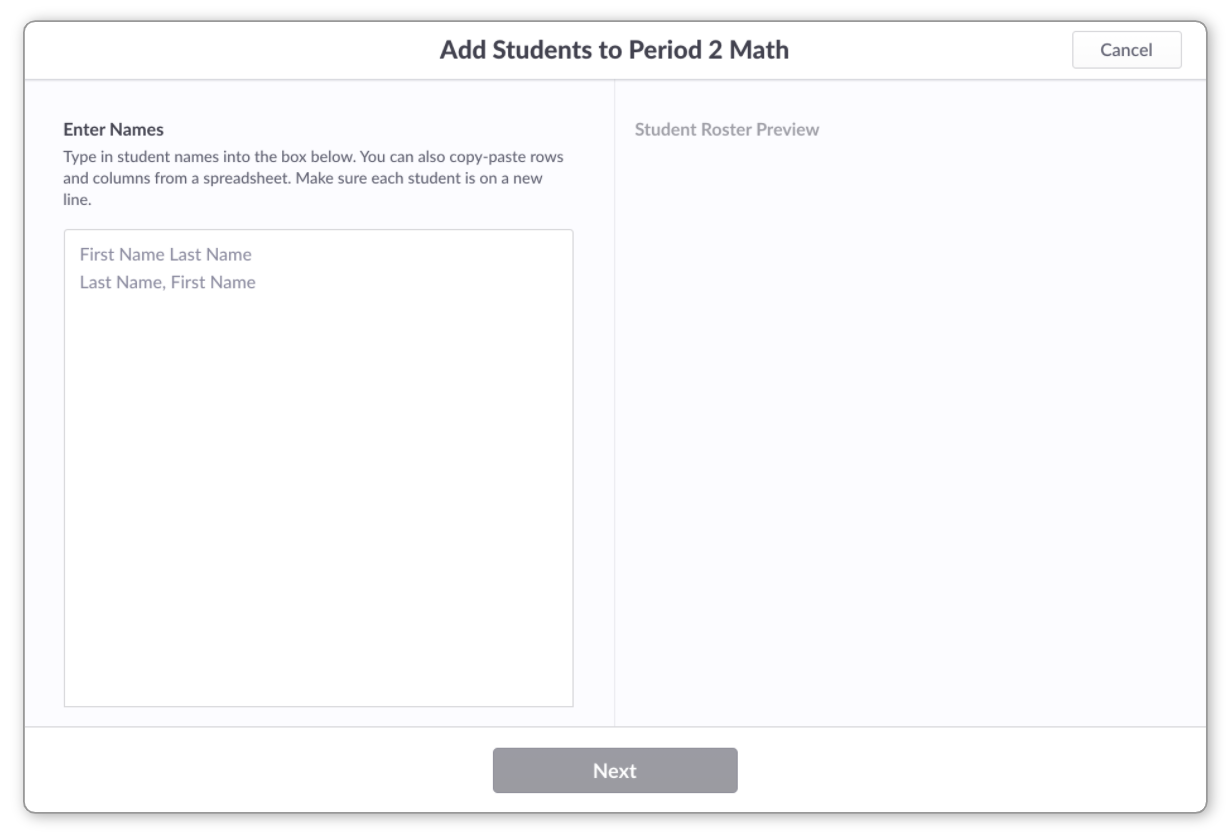
Enter your students' names into the left-hand textbox
There are two ways you can do this:
-
You have two formats to choose from here:
-
First name then last name - if you use a 'space' when inserting names, we assume the forename appears first e.g. Alex Sanchez
-
Last name then first name - if you use a comma, we assume the surname appears first e.g. Sanchez, Alex
-
-
You'll just need to make sure that each student shows on a new line, and their first names and last names are ordered consistently (as described in the toggle box above).
-
-
Check your student names
All your students will appear on the right-hand side of the window as they're entered. Have a quick check to make sure they all look correct. Then click Next.
-
Sort your student names
In the next window (shown below), you'll be given the opportunity to sort your student names alphabetically (either by first name or last name) or to keep the order as originally entered.
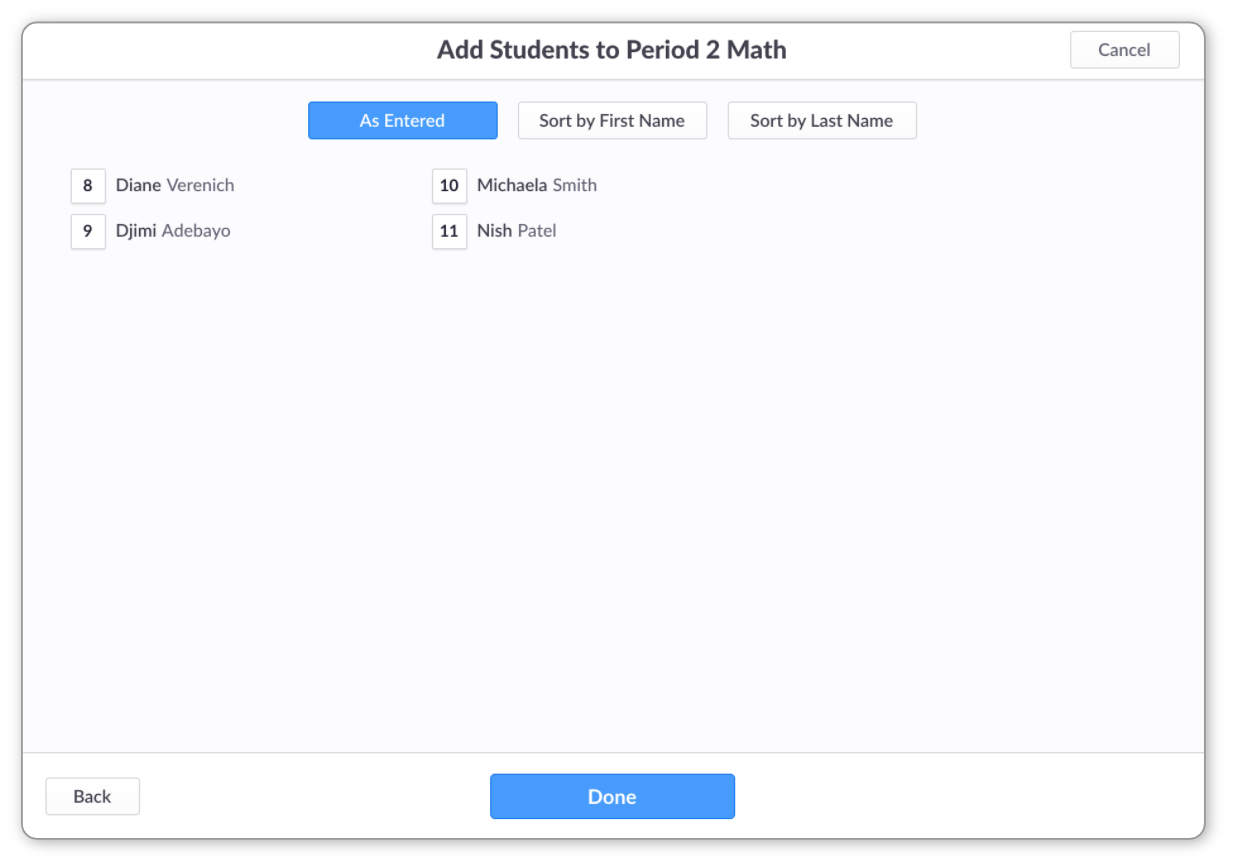
Note the numbers on the left-hand side of each name - these will be your students' card numbers. Further details on cards can be found here.
NoteYour recently added students will be assigned the lowest available card numbers. It is possible to change their card numbers - click here for more info.
-
Click 'Done' and review your updated student list
You'll arrive back at your Students page, where you'll see your updated roster.
From here, you may want to edit certain aspects of your student roster. To find out more about this, feel free to check out the following How-to guides:
Comments
0 comments
Article is closed for comments.